杰网资源 Design By www.escxy.com
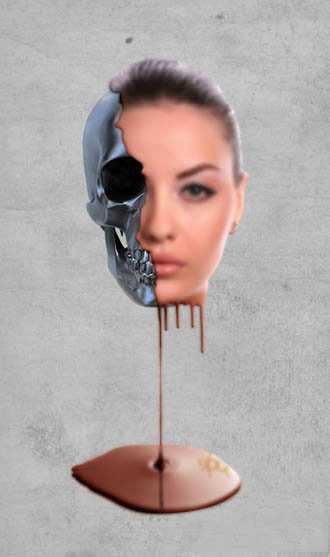
这样效果图看上去更加经典。
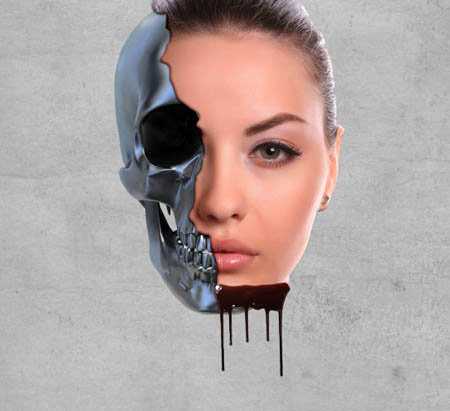
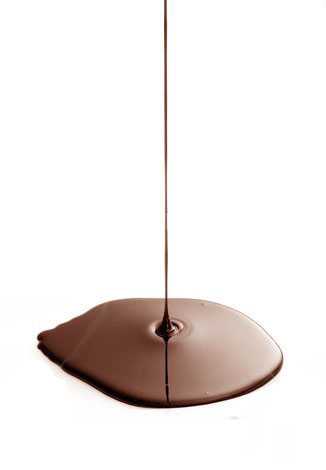
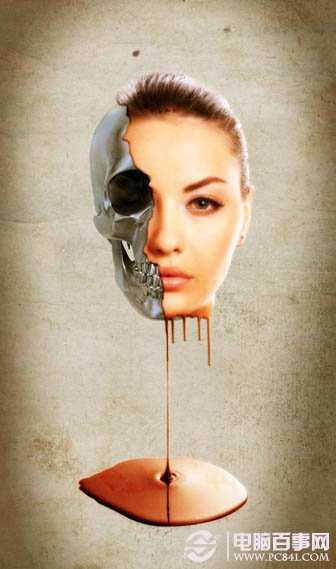
最终效果 :
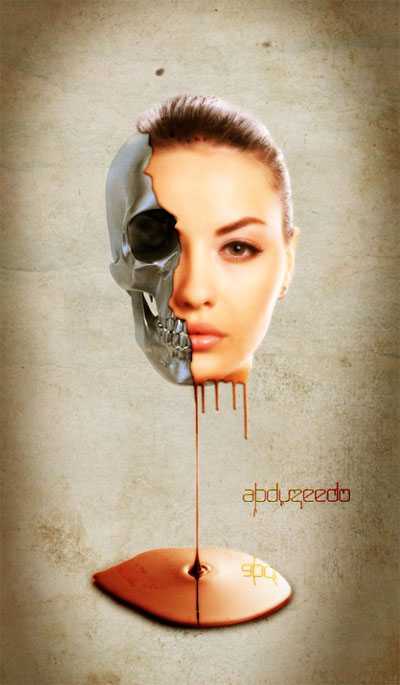

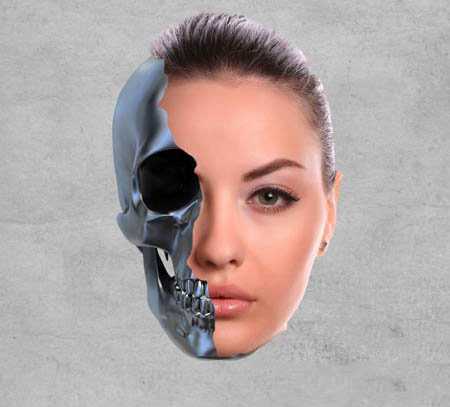

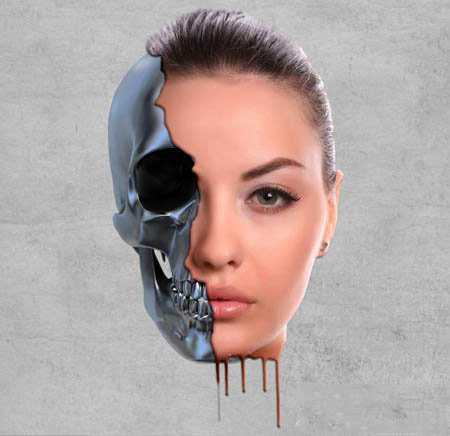
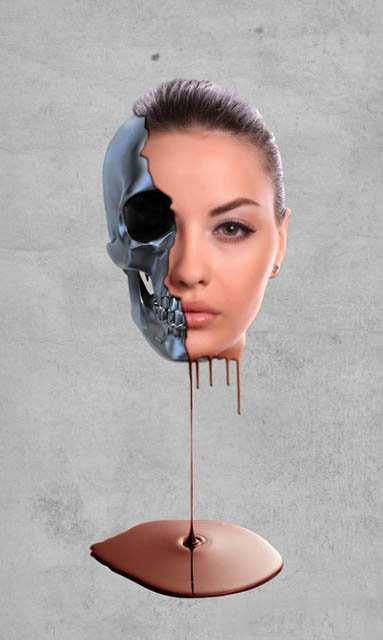
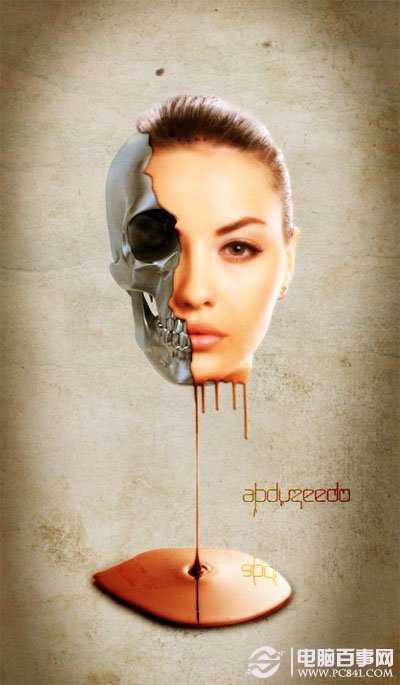
最终效果 :
标签:
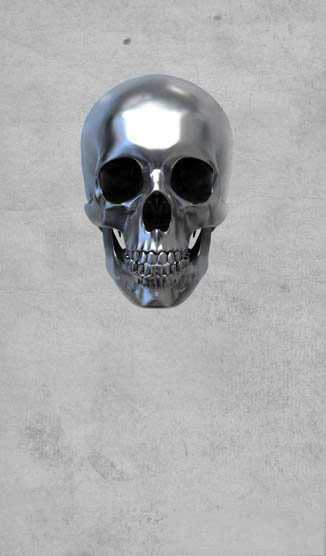
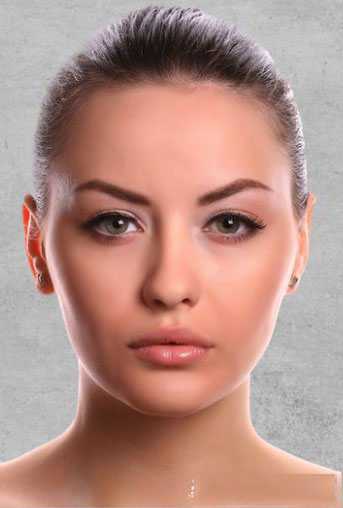
骷髅,美女,头像
杰网资源 Design By www.escxy.com
广告合作:本站广告合作请联系QQ:858582 申请时备注:广告合作(否则不回)
免责声明:本站文章均来自网站采集或用户投稿,网站不提供任何软件下载或自行开发的软件! 如有用户或公司发现本站内容信息存在侵权行为,请邮件告知! 858582#qq.com
免责声明:本站文章均来自网站采集或用户投稿,网站不提供任何软件下载或自行开发的软件! 如有用户或公司发现本站内容信息存在侵权行为,请邮件告知! 858582#qq.com
杰网资源 Design By www.escxy.com
暂无评论...