杰网资源 Design By www.escxy.com
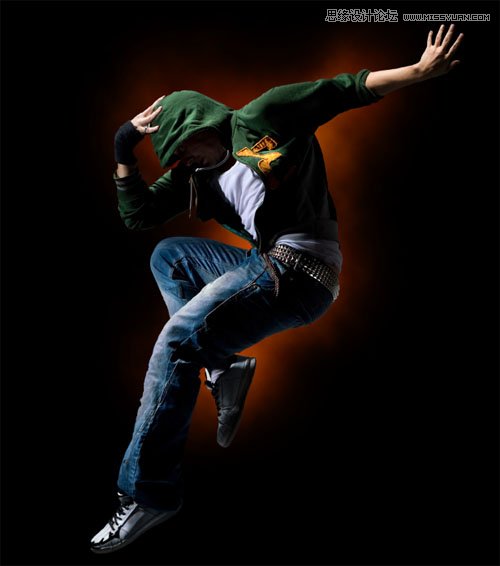
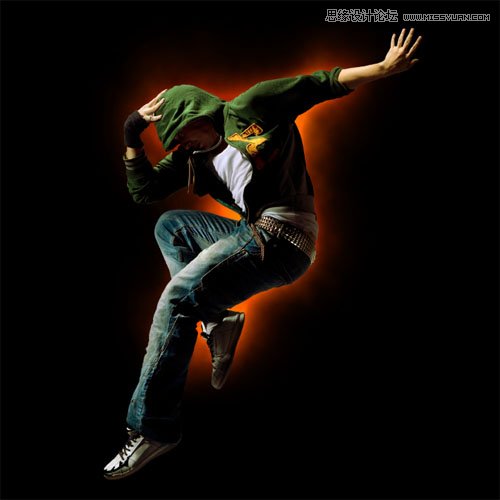
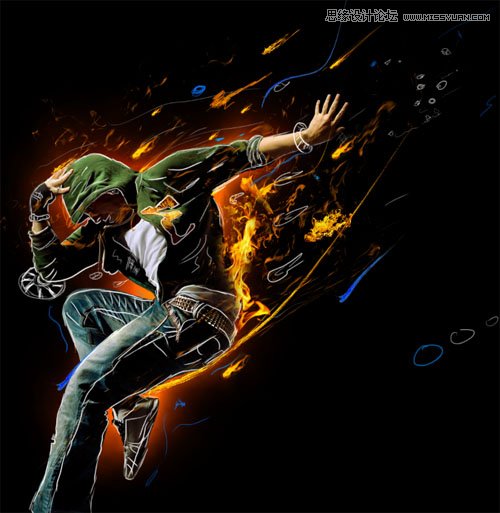
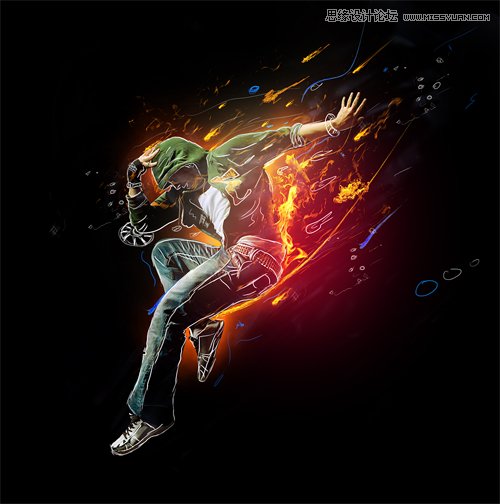
完成的效果图:

下面我们就来讲解这个是怎么做的,
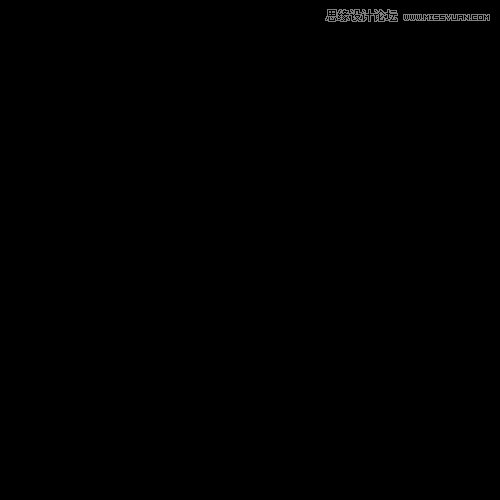
1.创建一个新的文档,填充黑色,
2.创建一个新图层,用画笔工具,0%的硬度,选择橙色
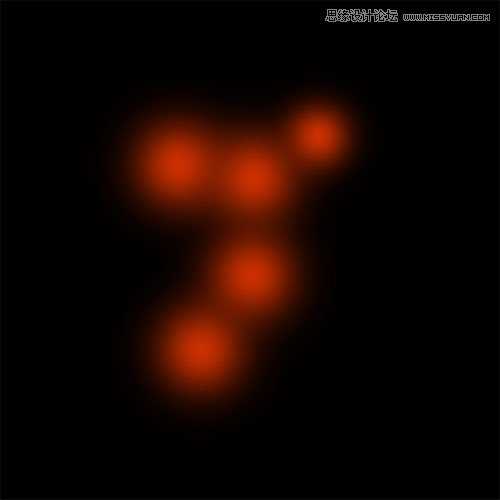
3.然后高斯模糊,数值20(根据图片而定)

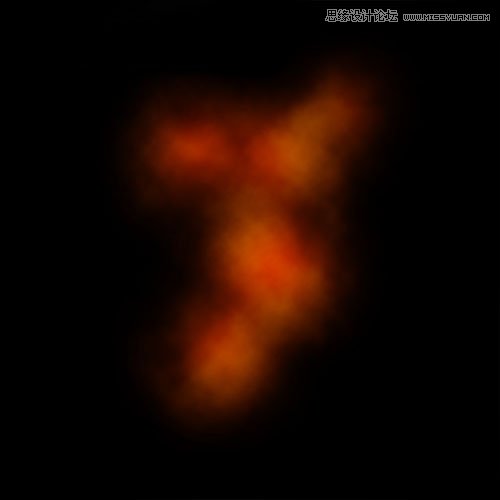
4.再创建一个图层,执行滤镜----渲染----云彩

5.改变混合模式为柔光
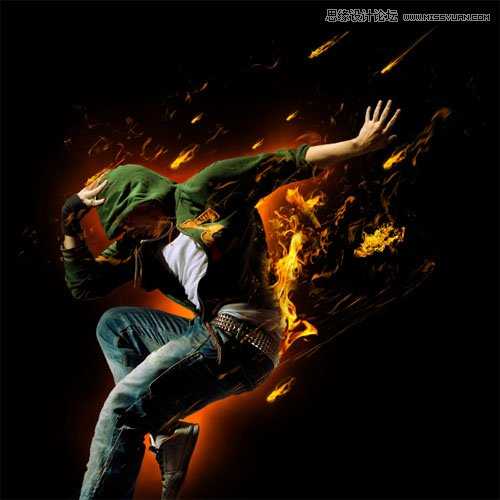
6.打开一张人物图,把人物抠出来.
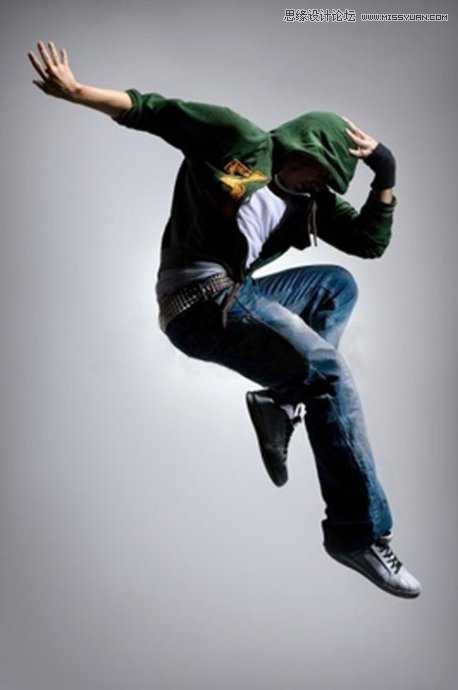
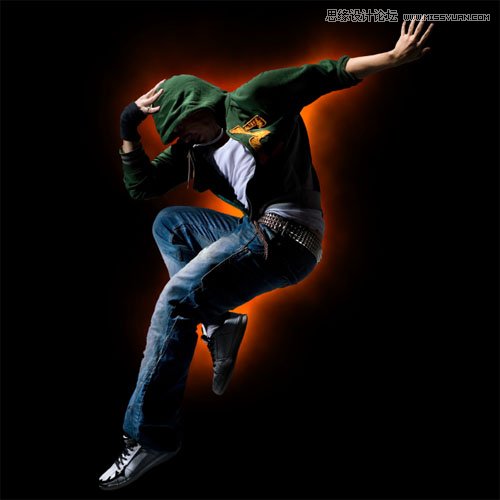
7.抠好的图裁剪过来,调整成这样
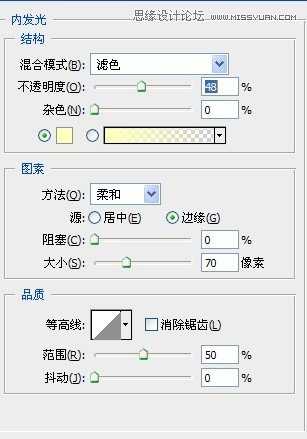
8.在混合模式里
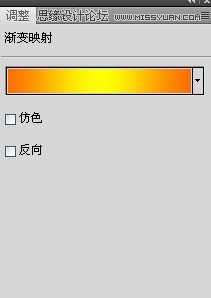
9.然后,再新建渐变映射,混合模式为柔光,不透明度设为30
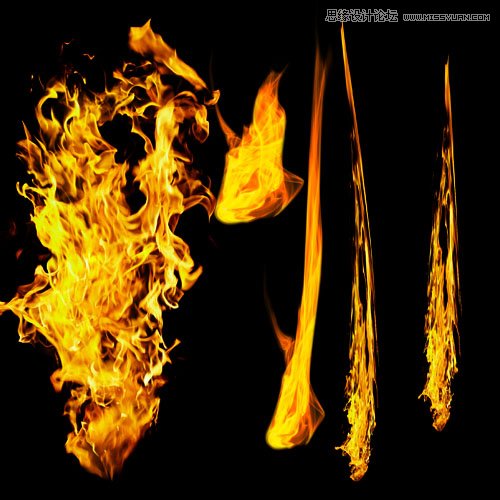
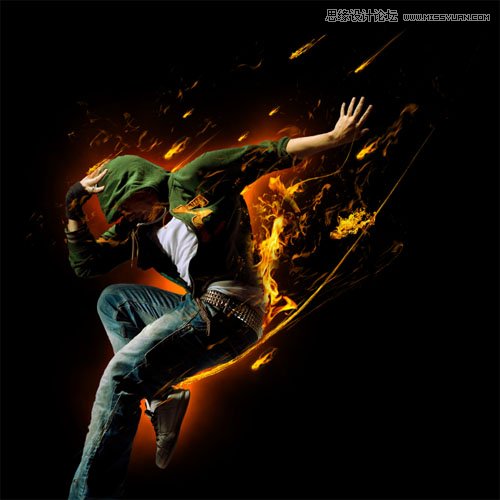
10.然后再导入火焰的素材,再做调整
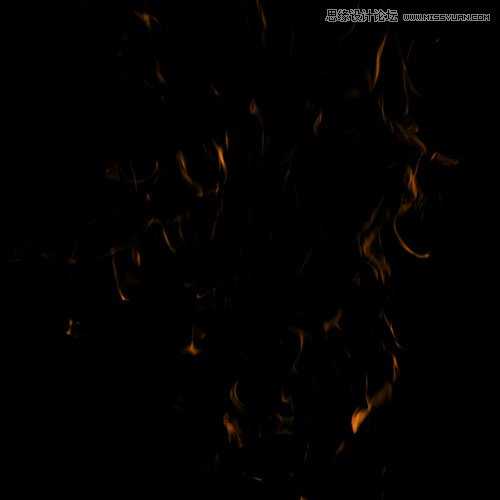
11.混合模式改为滤色,再多复制几层,做细节调整
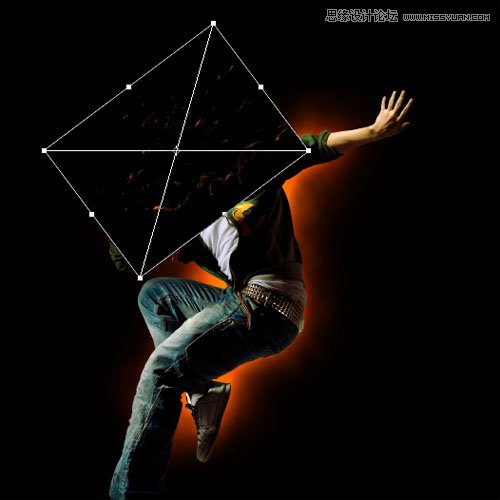
12.然后再导入其他火焰的素材,再用变形工具(编辑---变换----扭曲)
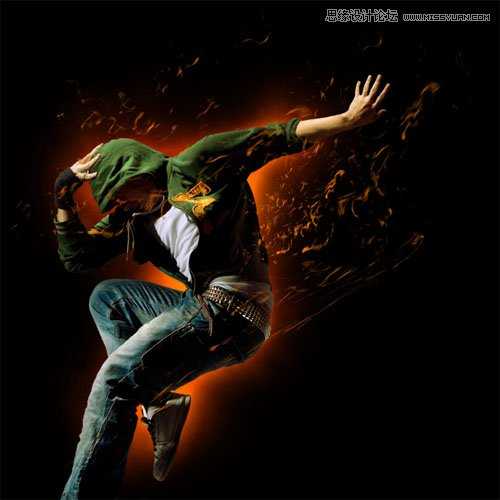
13.细节在调整成这样
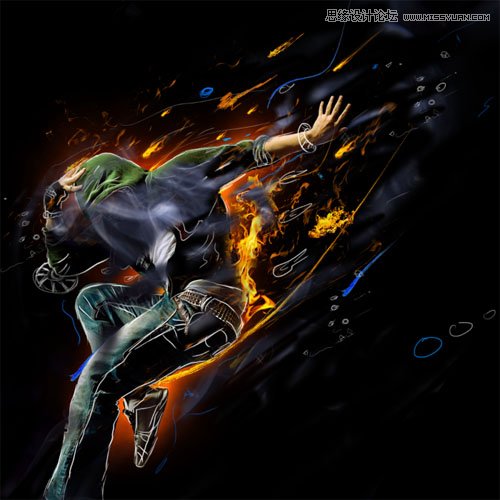
14.复制几个火焰,再执行图像-----调整----反相(这一步主要是改变火焰成蓝色的)
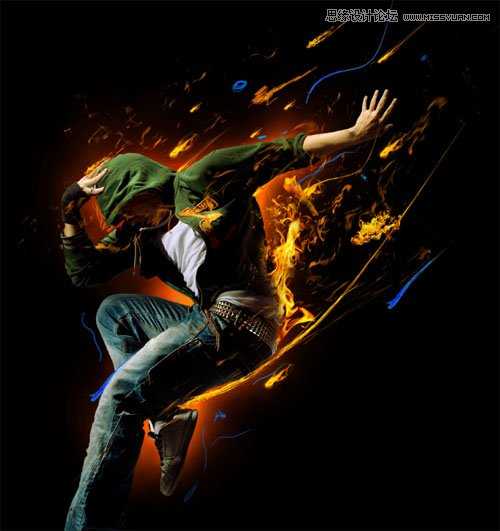
15.创建一个新图层,用画笔工具,用3到4个像素的形式来绘制白色轮廓
16.再导入一张烟雾的素材到图中,再做调整
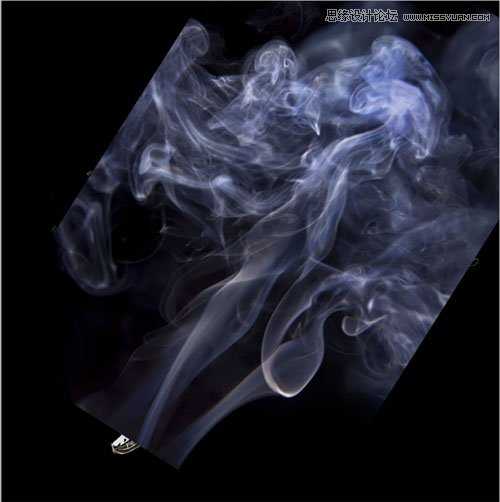
17.再用橡皮擦工具删除我们不想要的地方
18.混合模式改为叠加,不透明度设为30%左右

19.创建一个新图层,用画笔工具画两个圆圈.

20.再执行模糊----高斯模糊,值设为70左右(主要是让两个圆圈扩散开,看起来比较自然)
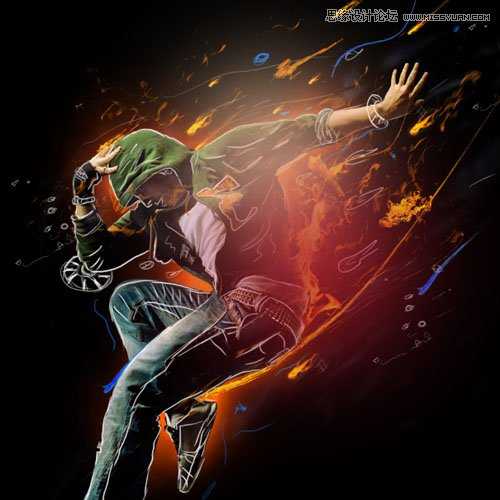
21.混合模式改为滤色
22.这样这张图就完成了.最终效果如下
下面我们就来讲解这个是怎么做的,
1.创建一个新的文档,填充黑色,
2.创建一个新图层,用画笔工具,0%的硬度,选择橙色
3.然后高斯模糊,数值20(根据图片而定)
4.再创建一个图层,执行滤镜----渲染----云彩
5.改变混合模式为柔光
6.打开一张人物图,把人物抠出来.
7.抠好的图裁剪过来,调整成这样
8.在混合模式里
9.然后,再新建渐变映射,混合模式为柔光,不透明度设为30
10.然后再导入火焰的素材,再做调整
11.混合模式改为滤色,再多复制几层,做细节调整
12.然后再导入其他火焰的素材,再用变形工具(编辑---变换----扭曲)
13.细节在调整成这样
14.复制几个火焰,再执行图像-----调整----反相(这一步主要是改变火焰成蓝色的)
15.创建一个新图层,用画笔工具,用3到4个像素的形式来绘制白色轮廓
16.再导入一张烟雾的素材到图中,再做调整
17.再用橡皮擦工具删除我们不想要的地方
18.混合模式改为叠加,不透明度设为30%左右
19.创建一个新图层,用画笔工具画两个圆圈.
20.再执行模糊----高斯模糊,值设为70左右(主要是让两个圆圈扩散开,看起来比较自然)
21.混合模式改为滤色
22.这样这张图就完成了.最终效果如下
标签:
火焰 人像
杰网资源 Design By www.escxy.com
广告合作:本站广告合作请联系QQ:858582 申请时备注:广告合作(否则不回)
免责声明:本站文章均来自网站采集或用户投稿,网站不提供任何软件下载或自行开发的软件! 如有用户或公司发现本站内容信息存在侵权行为,请邮件告知! 858582#qq.com
免责声明:本站文章均来自网站采集或用户投稿,网站不提供任何软件下载或自行开发的软件! 如有用户或公司发现本站内容信息存在侵权行为,请邮件告知! 858582#qq.com
杰网资源 Design By www.escxy.com
暂无评论...