1、执行“文件--打开”命令
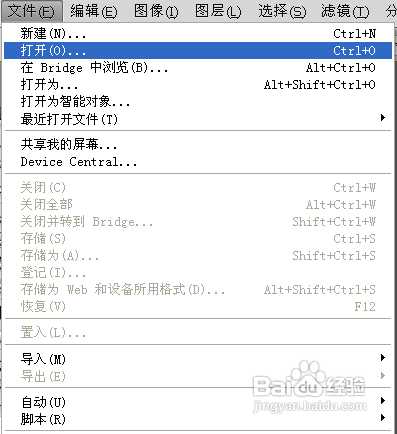
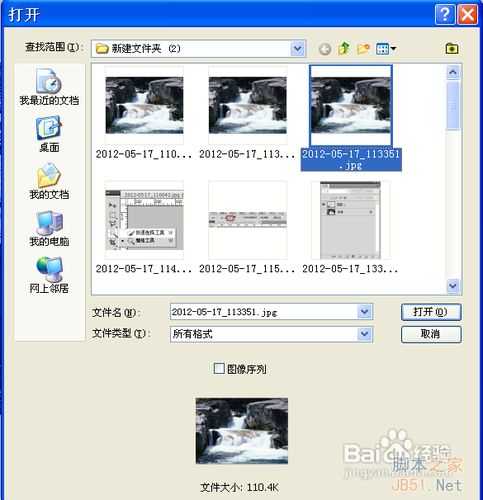
2、在“打开”对话框中选择要制作河水流动的静态图片,点击“打开”按钮打开图片
3 、用工具箱中的“快速选择工具”选择水部分
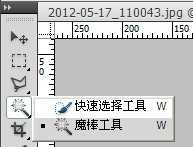
4、方法:在有水的地方拖曳鼠标即可选择相似的水像素,下图中有蚂蚁线的就是选择的部分

5、选择工具栏中的“从选区中减去”按钮将多余部分去掉

6、然后选区上按Ctrl+C复制,CTRL+V粘贴,生成水层:图层1,隐藏背景层
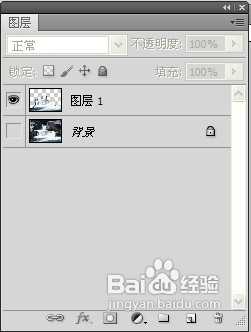
7、将抠出的水面图层复制5层,得到下图图层
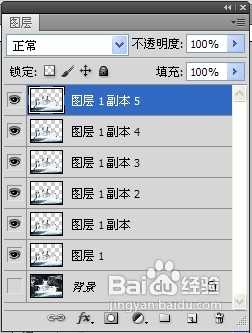
8、执行滤镜-扭曲-海洋波纹命令
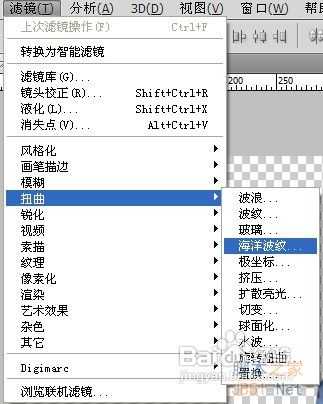
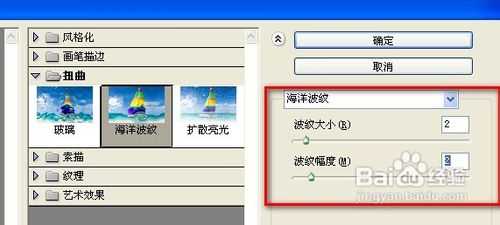
9、设置水波纹大小:
10选择图层1副本5,执行滤镜-扭曲-海洋波纹-设置波纹大小为1,波纹幅度为2,点击确定
11、选择图层1副本4,执行滤镜-扭曲-海洋波纹-设置波纹大小为2,波纹幅度为2,点击确定
12、依次类推,图层1副本3,波纹大小为3,波纹幅度为2;点击确定
13、图层1副本2,波纹大小为4,波纹幅度为2;点击确定
14、图层1副本1,波纹大小为5,波纹幅度为2;点击确定
15、图层1,波纹大小为6,波纹幅度为2;点击确定
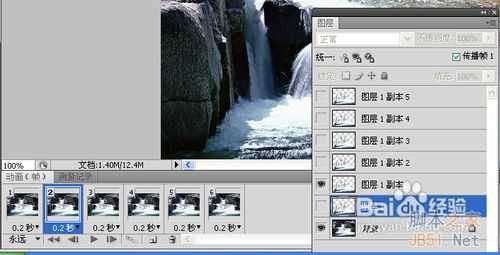
16、执行“窗口--动画”命令,打开动画时间轴面板

17、所有图层显示在动画时间轴面板里,如下图
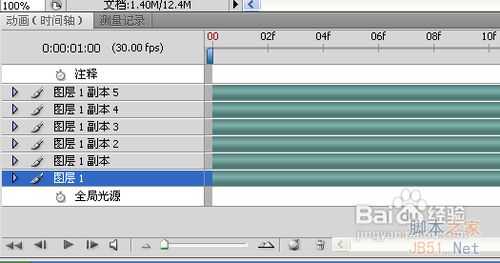
18、点击动画时间轴面板右下角的“转换到帧动画”按钮,切换到动画帧面板
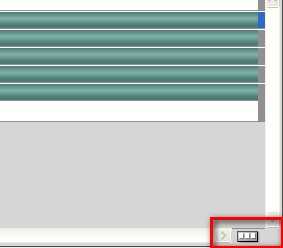
19、选中第一帧,点击下方的“复制所选帧”按钮,复制帧
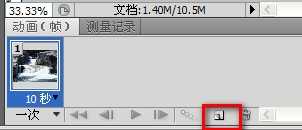
20、复制出5个帧,如下图所示
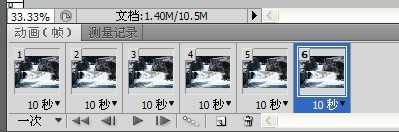
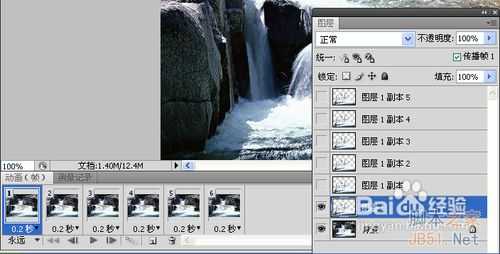
21、将图层和帧一一对应,只留需要显示的图层
22、选中第一帧,将图层1副本,图层1副本2,3,4,5层前面眼睛去除(隐藏图层)
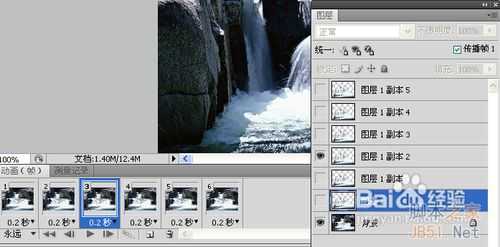
23、选中第二帧,将图层1,图层1副本2,3,4,5层前面眼睛去除(隐藏图)
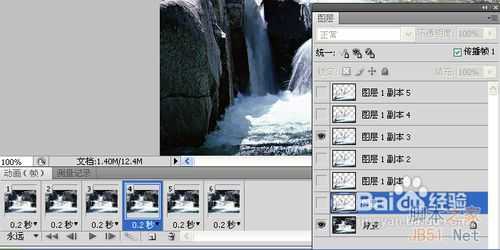
24、选中第三帧,将图层1,图层1副本1,3,4,5层前面眼睛去除(隐藏图)
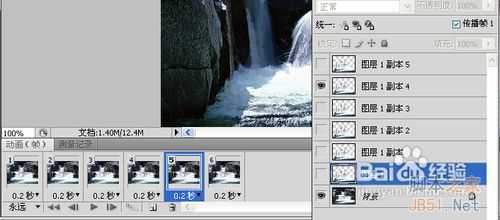
25、选中第四帧,将图层1,图层1副本1,2,4,5层前面眼睛去除(隐藏图)
26、选中第五帧,将图层1,图层1副本1,2,3,5层前面眼睛去除(隐藏图)
27、选中第六帧,将图层1,图层1副本1,2,3,4层前面眼睛去除(隐藏图)

28、单击帧下方的10秒右边的小箭头,将帧之间的间隔时间改为0.1秒

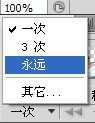
29、将动画工具栏左下角的循环改为永远
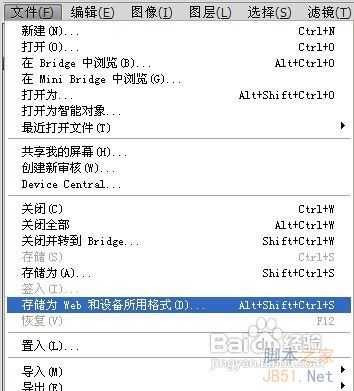
30、执行“文件--存储为WEB和设备所用格式”命令
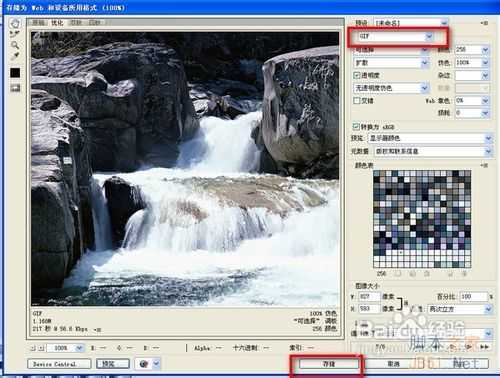
31、在存储为对话框中选择文件格式为.GIF,点击“存储”按钮,
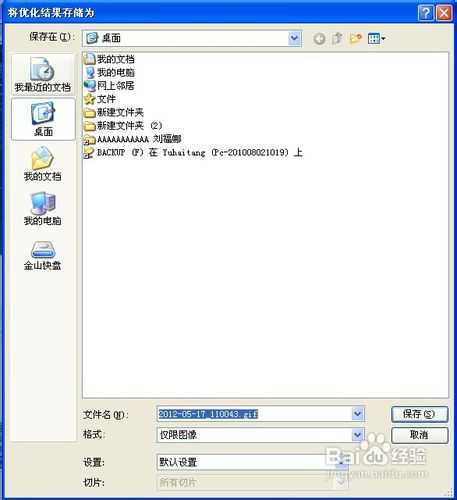
32、选择文件保存位置,点击“保存”按钮
33、在弹出的警告对话框中单击确定按钮即可
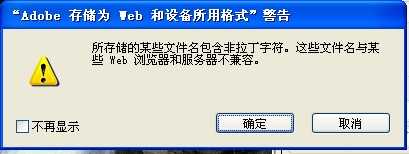
34、效果如下图所示
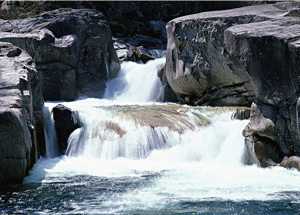
河水流动动画
免责声明:本站文章均来自网站采集或用户投稿,网站不提供任何软件下载或自行开发的软件! 如有用户或公司发现本站内容信息存在侵权行为,请邮件告知! 858582#qq.com


P70系列延期,华为新旗舰将在下月发布
3月20日消息,近期博主@数码闲聊站 透露,原定三月份发布的华为新旗舰P70系列延期发布,预计4月份上市。
而博主@定焦数码 爆料,华为的P70系列在定位上已经超过了Mate60,成为了重要的旗舰系列之一。它肩负着重返影像领域顶尖的使命。那么这次P70会带来哪些令人惊艳的创新呢?
根据目前爆料的消息来看,华为P70系列将推出三个版本,其中P70和P70 Pro采用了三角形的摄像头模组设计,而P70 Art则采用了与上一代P60 Art相似的不规则形状设计。这样的外观是否好看见仁见智,但辨识度绝对拉满。