杰网资源 Design By www.escxy.com
制作的过程基本上都是利用滤镜及调色工具来完成。滤镜效果非常强大,很多漂亮的效果都可以用它来完成。
最终效果

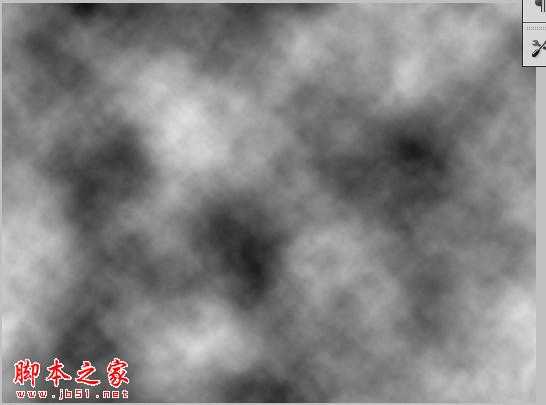
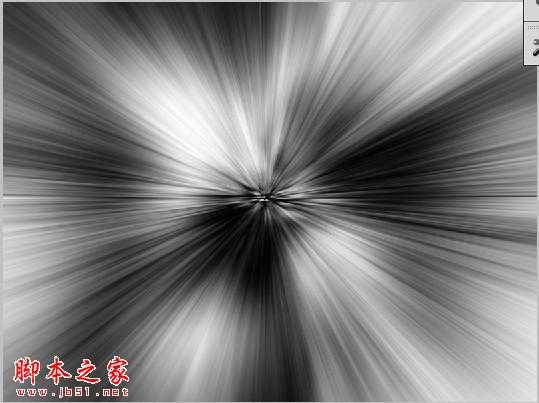
1、新建一个文档,宽高分别为800像素,600像素。用黑色填充图像背景,将前景色和背景色分别设置为黑色和白色。选择菜单"滤镜>渲染>云彩",如图。

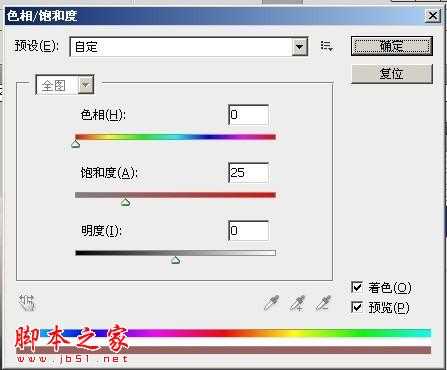
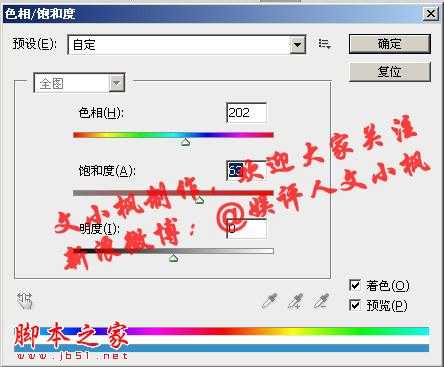
7、现在图像看起来相当不错了。但我们还有改进完善的余地。重复第6步的操作,不过这次我们针对背景图层操作,参数设置如下:

最终效果
1、新建一个文档,宽高分别为800像素,600像素。用黑色填充图像背景,将前景色和背景色分别设置为黑色和白色。选择菜单"滤镜>渲染>云彩",如图。
7、现在图像看起来相当不错了。但我们还有改进完善的余地。重复第6步的操作,不过这次我们针对背景图层操作,参数设置如下:
标签:
滤镜,多彩,光线
杰网资源 Design By www.escxy.com
广告合作:本站广告合作请联系QQ:858582 申请时备注:广告合作(否则不回)
免责声明:本站文章均来自网站采集或用户投稿,网站不提供任何软件下载或自行开发的软件! 如有用户或公司发现本站内容信息存在侵权行为,请邮件告知! 858582#qq.com
免责声明:本站文章均来自网站采集或用户投稿,网站不提供任何软件下载或自行开发的软件! 如有用户或公司发现本站内容信息存在侵权行为,请邮件告知! 858582#qq.com
杰网资源 Design By www.escxy.com
暂无评论...