杰网资源 Design By www.escxy.com
最终效果

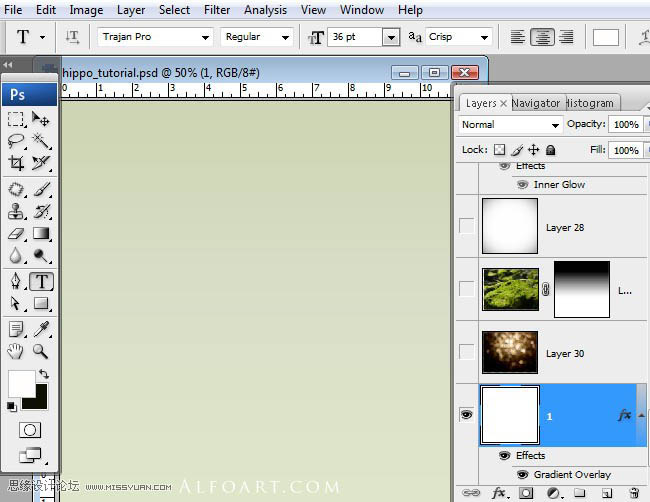
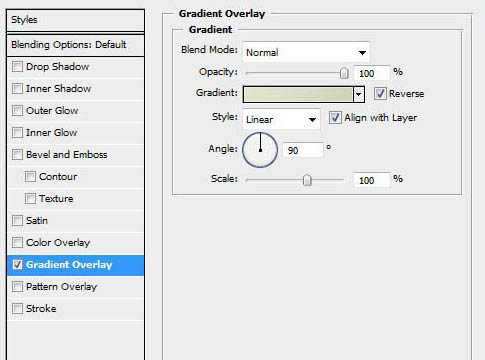
1、新建图层,对新建图层应用线性渐变叠加样式。
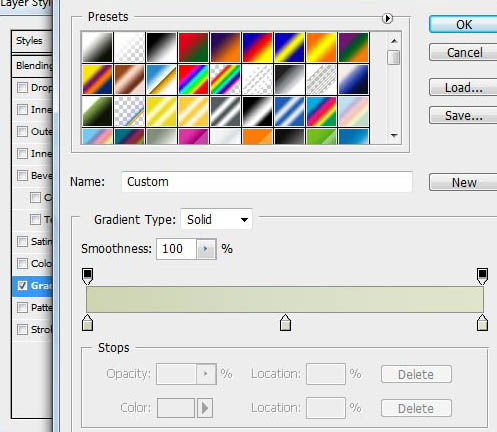
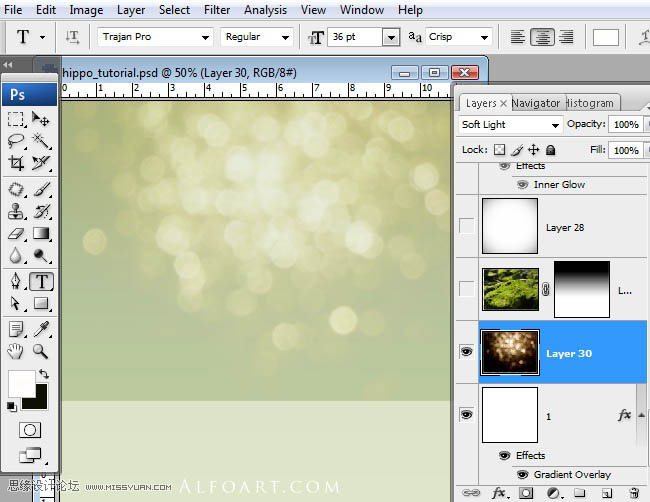
2、设置渐变颜色,色彩为实色,从左到右分别为#cdd5b3,#d7dfc7,#dfe5c8。
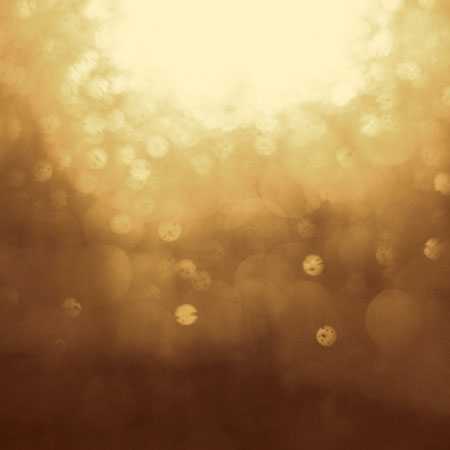
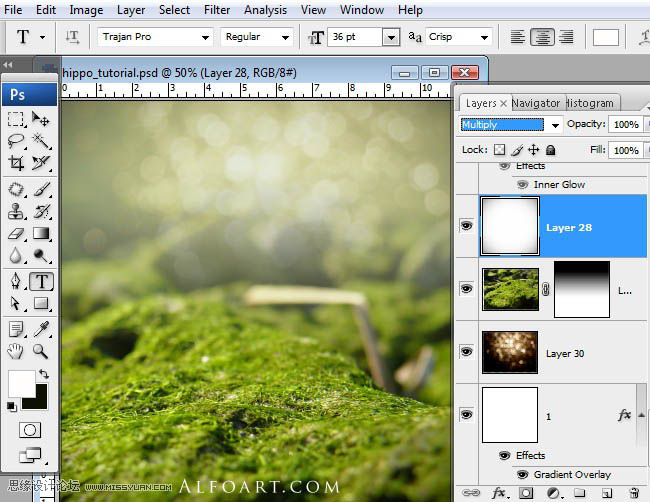
3、添加背景虚化图层,图层混合模式为柔光。
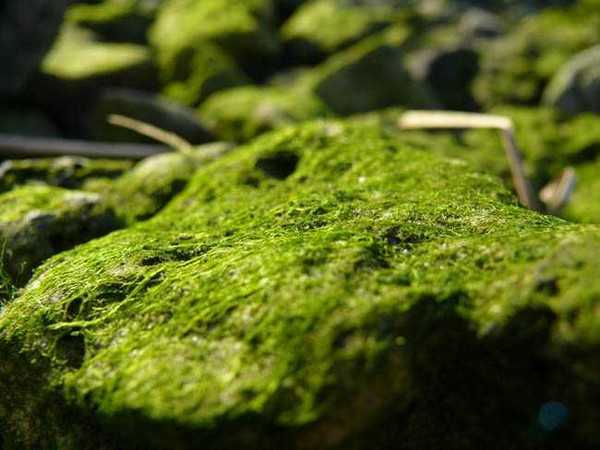
4、拖入背景素材,添加蒙版,对蒙版添加线性渐变,如下图所示。
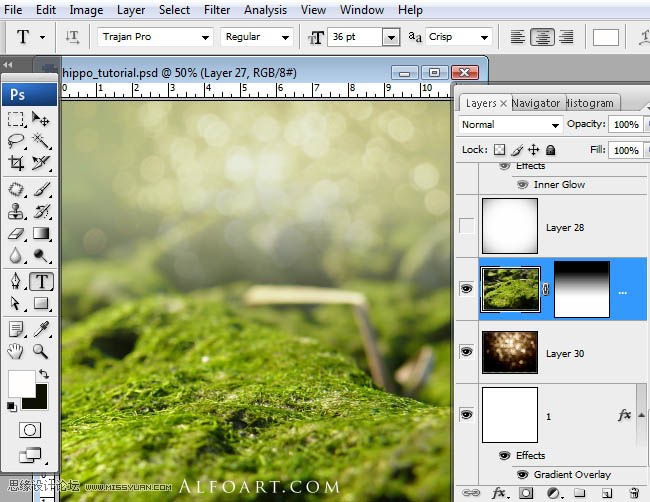
5、加入素材,放置在如图所示。
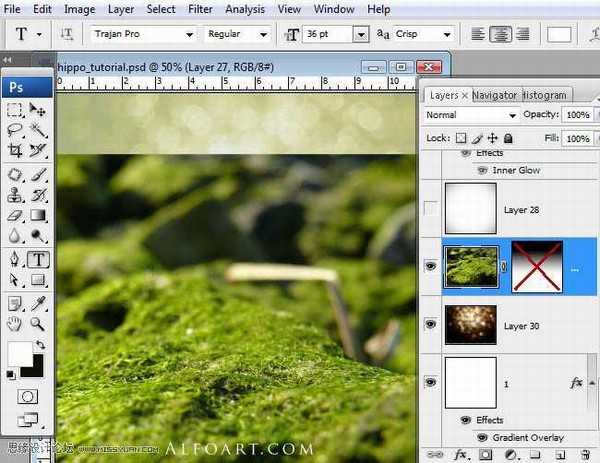
6、添加蒙版,使用黑白颜色的线性渐变。

7、在最上面创建一个白色的新图层,执行:滤镜---扭曲---镜头校正,数量:-30。
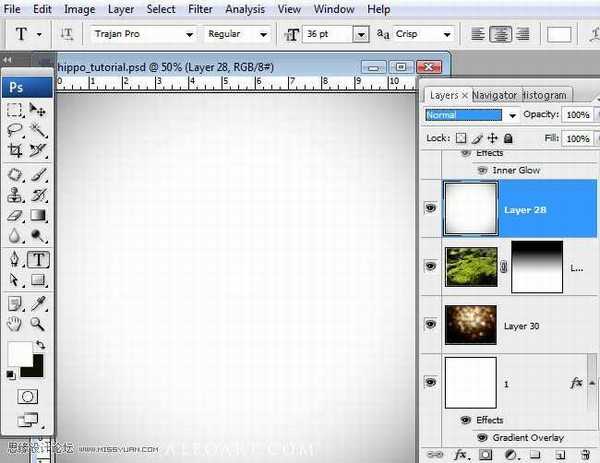
8、图层混合模式改为正片叠底。
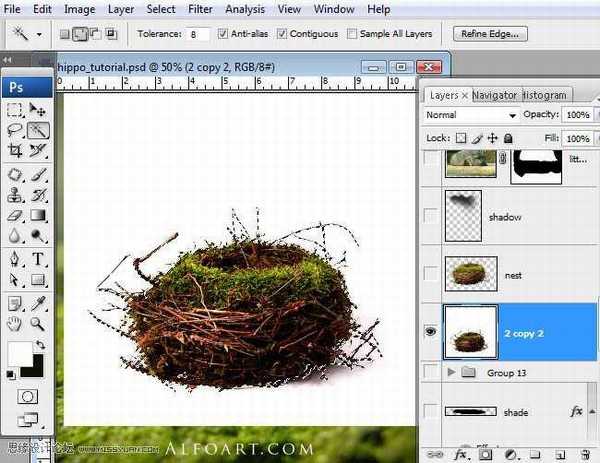
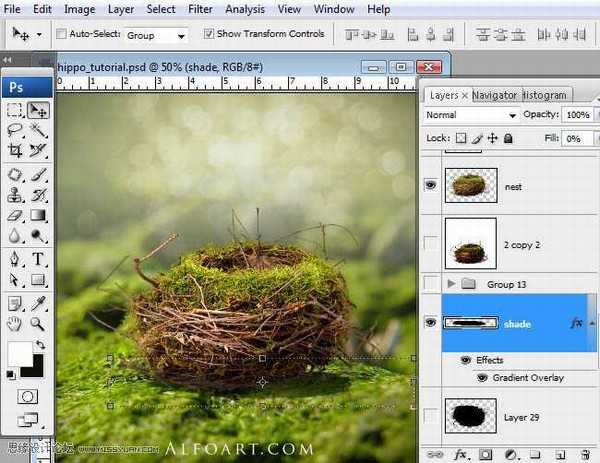
9、插入鸟巢素材,将鸟巢复制到白色背景的新图层上,并移动。


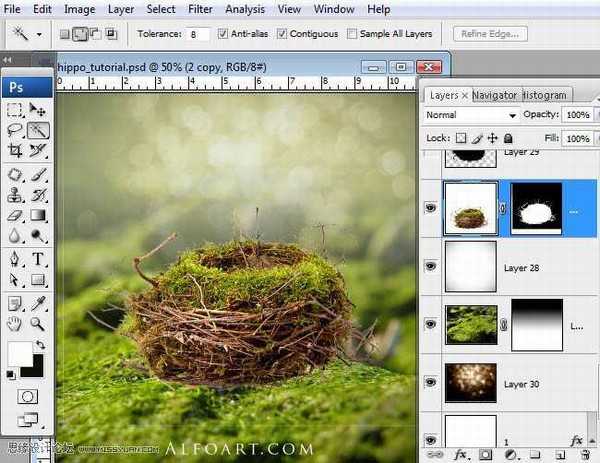
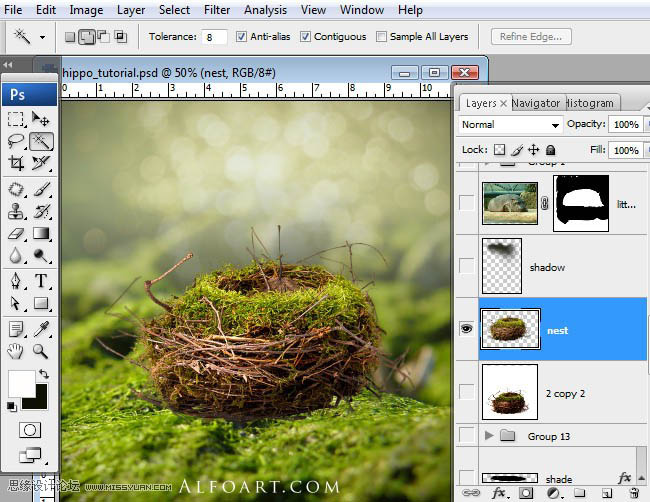
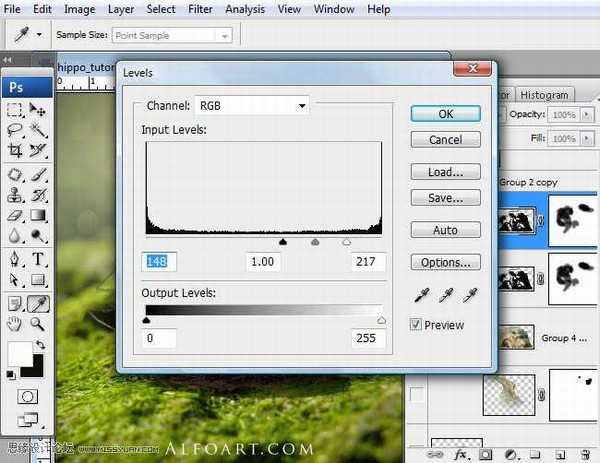
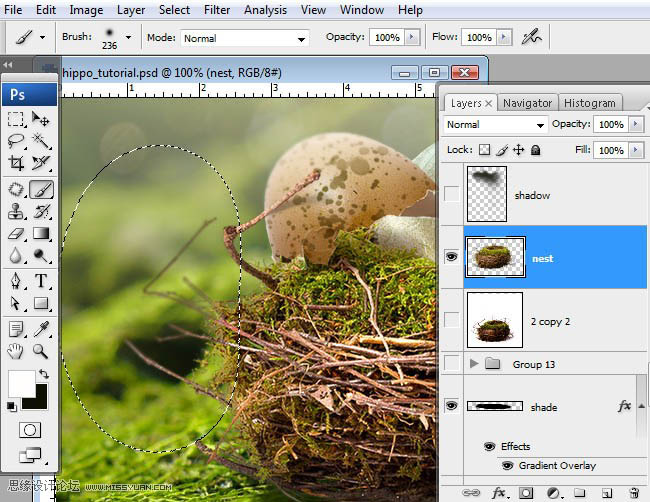
10、再次插入原来的鸟窝素材,放在已编辑的鸟窝图层之下,使用色阶将暗部压暗。
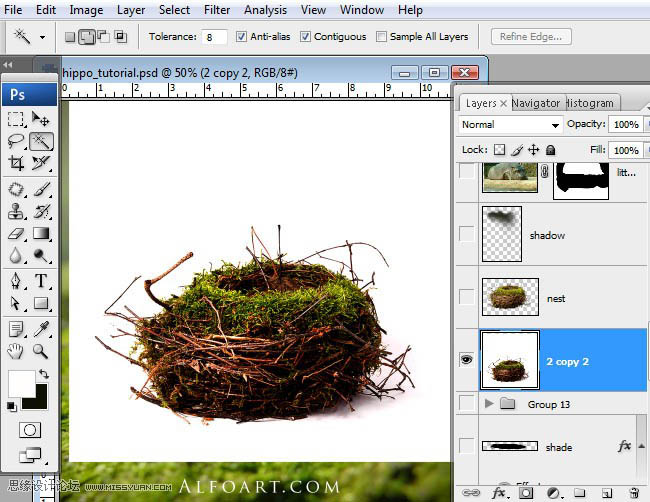
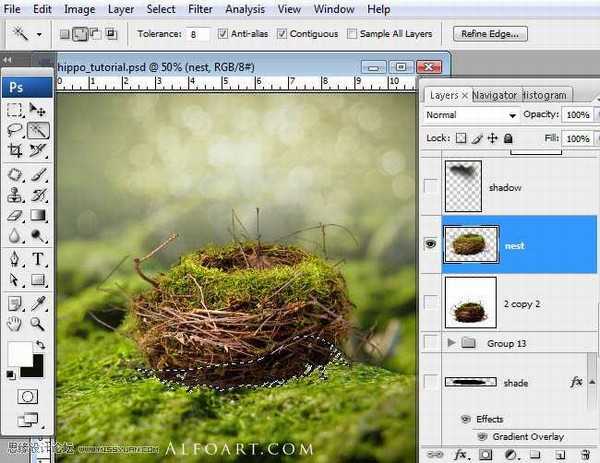
11、选择---载入选区,移动鸟窝。
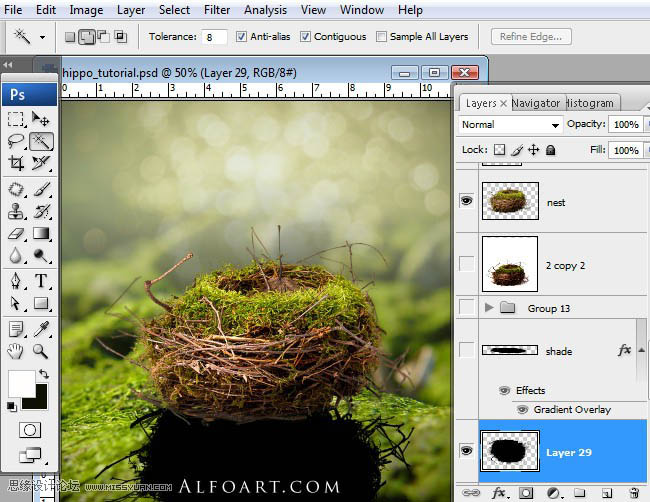
12、将2个鸟窝图层合并,选择鸟窝以外部分,执行:滤镜----模糊-----高斯模糊,2%,选择鸟巢的底部,如图所示,保持选区,在新的图层填充黑色,图层混合模式改为正片叠底,不透明度50--60%。
13、对鸟窝图层载入选区,保持选区,在新建的图层填充黑色。新的填充图层垂直翻转,如下图所示。
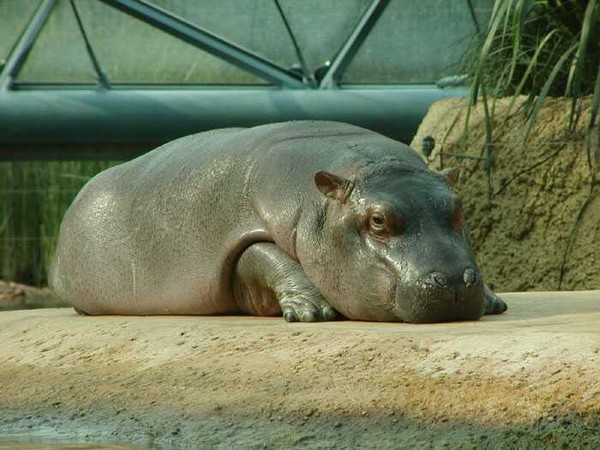
14、使用自由变换工具对图层变换,使用变换---缩放改变大小和方向,给这个图层添加渐变叠加的图层样式,颜色为透明---黑色。

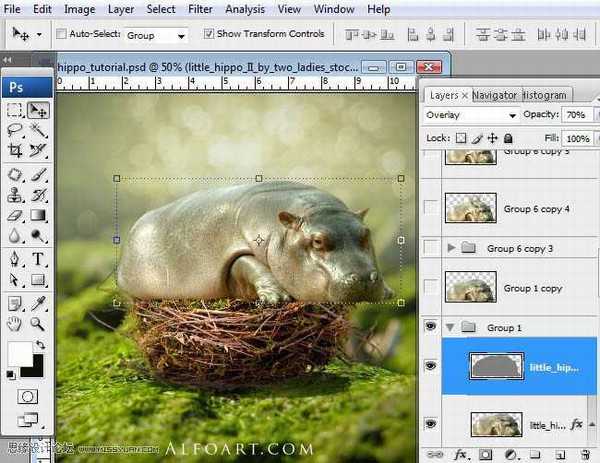
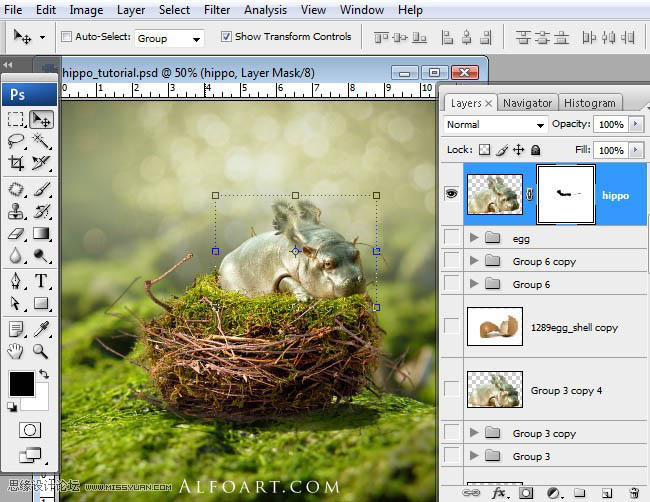
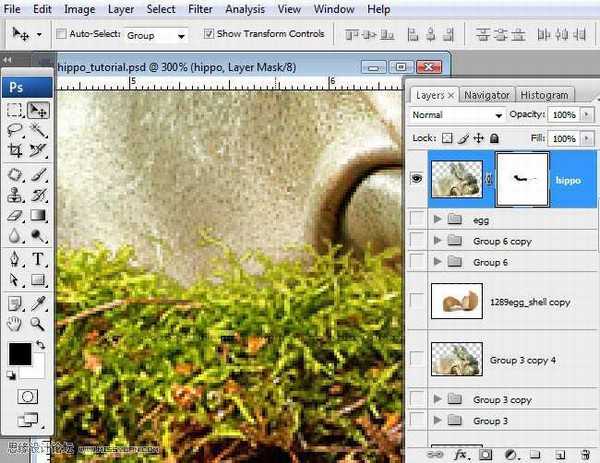
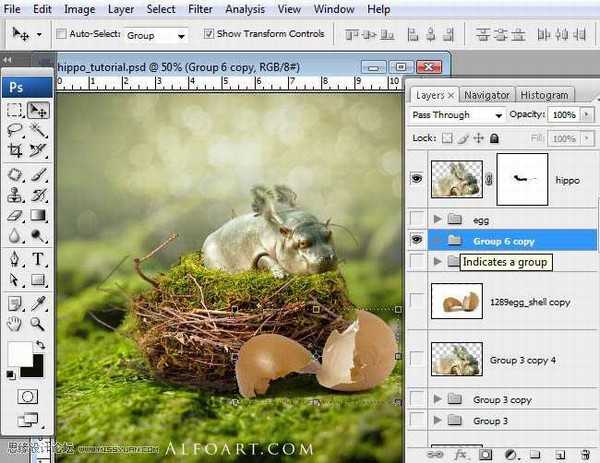
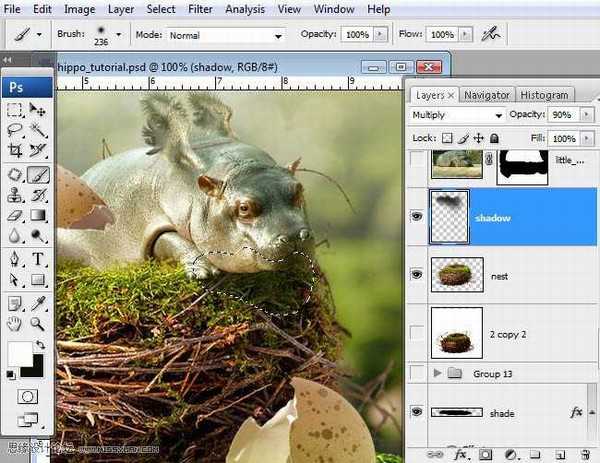
15、将河马拖入新的图层。

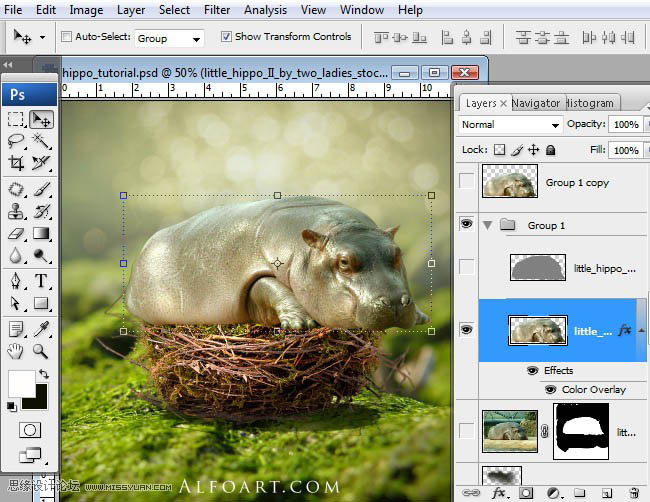
16、将河马从背景中分离,添加蒙版,擦去多余部分。
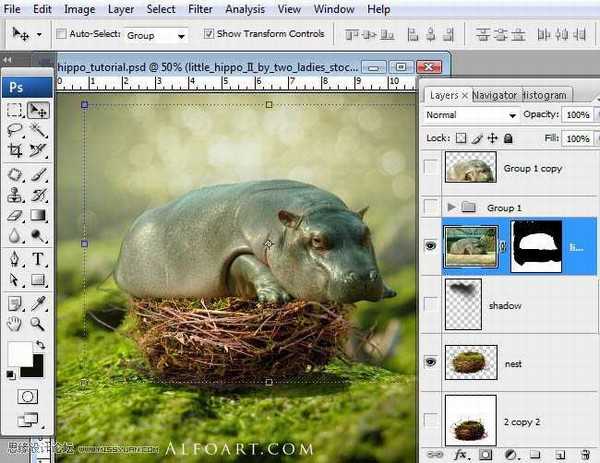
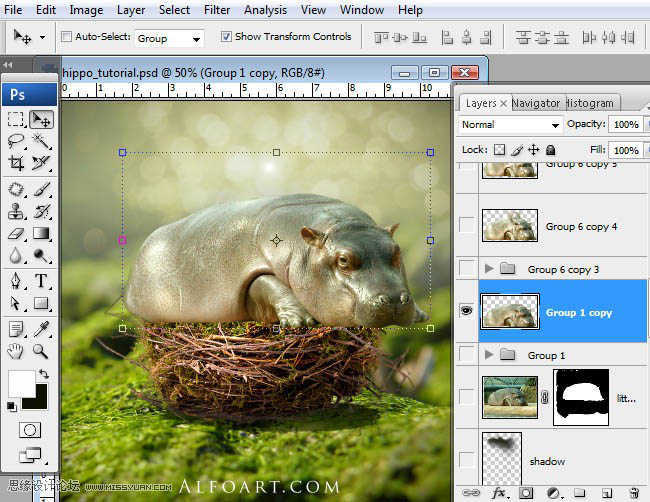
17、校色,执行:图像---调整---可选颜色,红色:黄12,黑-20;绿色:黄42;白色:黄14,黑-79;中性色:青色-6,洋红6,黄6,黑04;黑色:黑色2;对图层执行颜色叠加的图层样式,设置如下。
18、复制河马图层,执行滤镜---其他---高反差保留,0.8像素,图层混合模式:叠加,不透明度70%。
19、合并河马的所有图层,设置合适的画笔大小,选择减淡工具,81像素,曝光度15,对河马的光亮部分减淡处理,如眼睛、耳朵,其他高亮部分。
20、复制河马图层,执行:图像---调整---黑白,将图片转换成灰色,执行:色阶,参数如图。
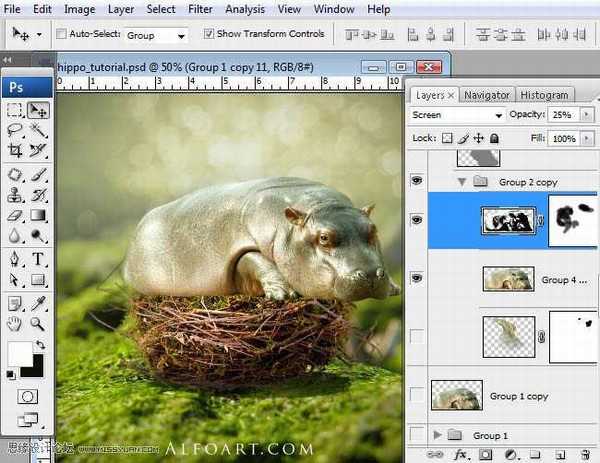
21、擦去图示部分。
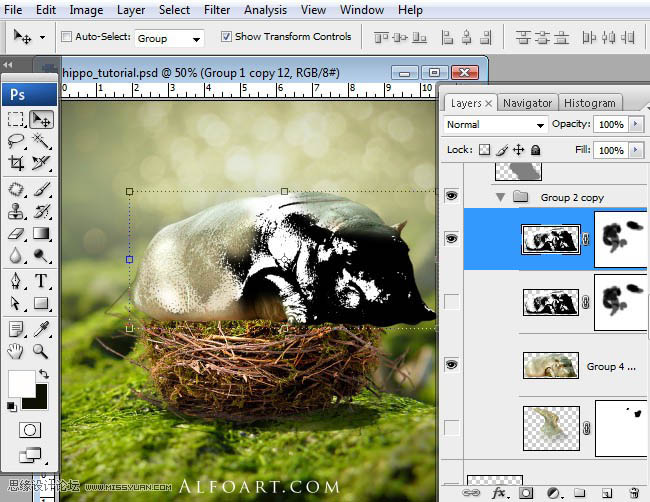
22、图层混合模式为滤色,不透明度25。
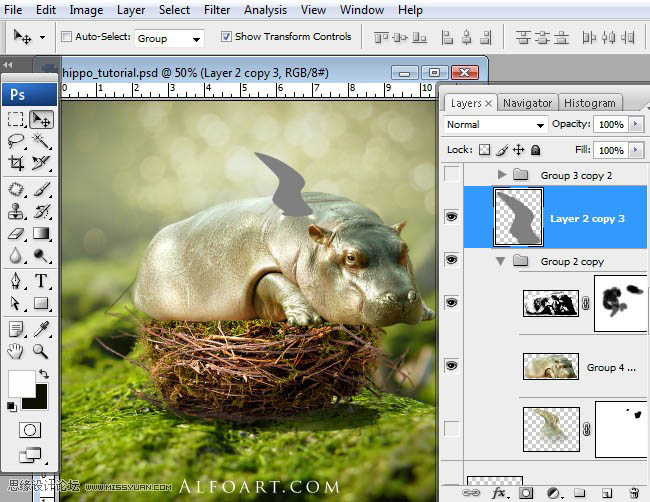
23、使用钢笔勾出翅膀形状,转换成路径,做成翅膀的阴影。
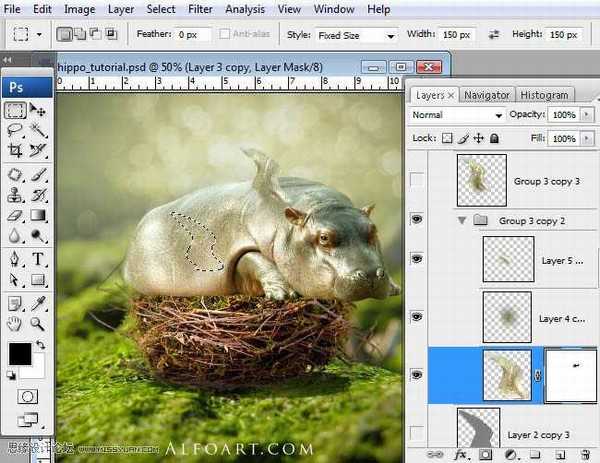
24、对翅膀阴影区域载入选区,并移动到河马身体上,复制选区,并粘贴到新的图层,如图所示,从河马身上复制一个区域,粘贴到翅膀图层的上方。
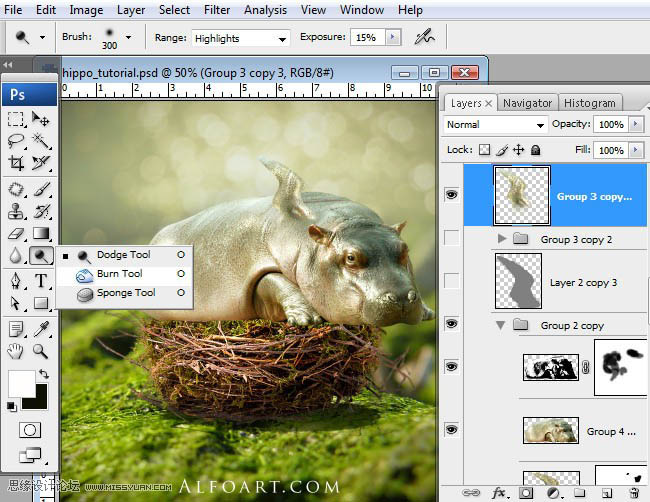
25、为了创造阴影过度,使用减淡和加深工具对翅膀进行涂抹。
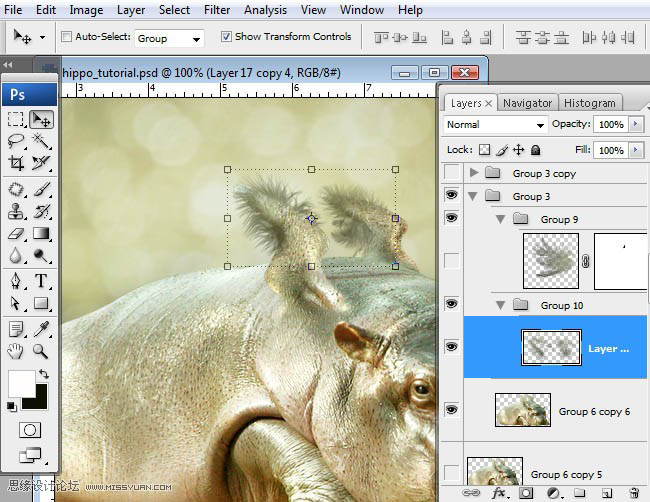
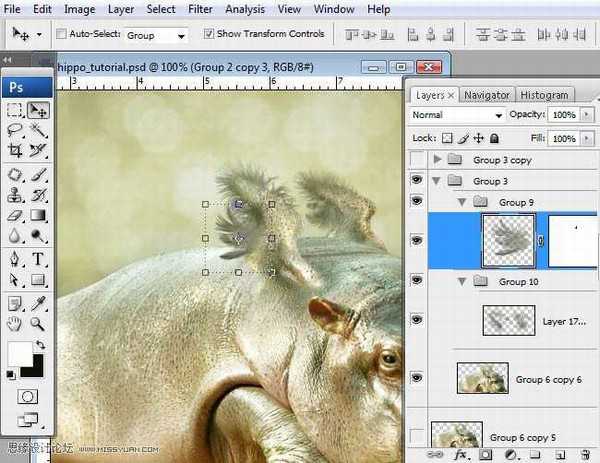
26、复制翅膀,用变形工具缩小,并放在图示的位置。
27、使用羽毛笔刷为图示位置增加羽毛。
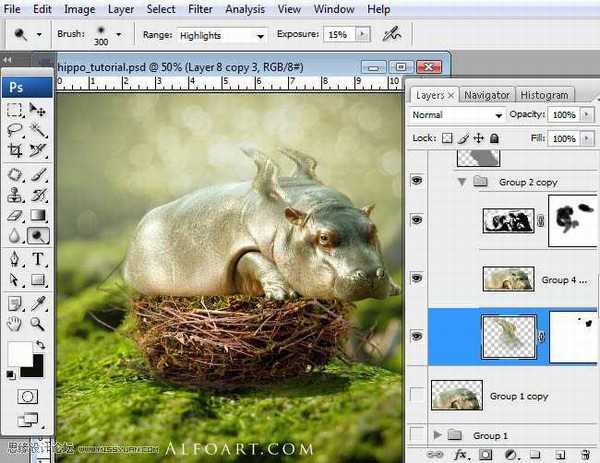
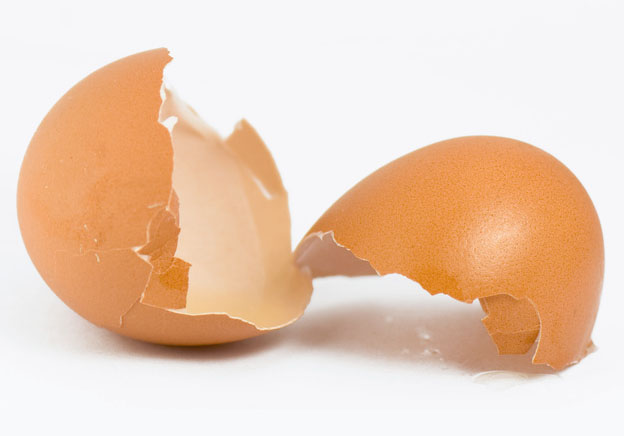
28、合并所有的河马及翅膀图层,将河马转换成合适的大小拖入鸟窝中,执行:滤镜---锐化-----智能锐化,数量100,半径0.3,勾选更准确。
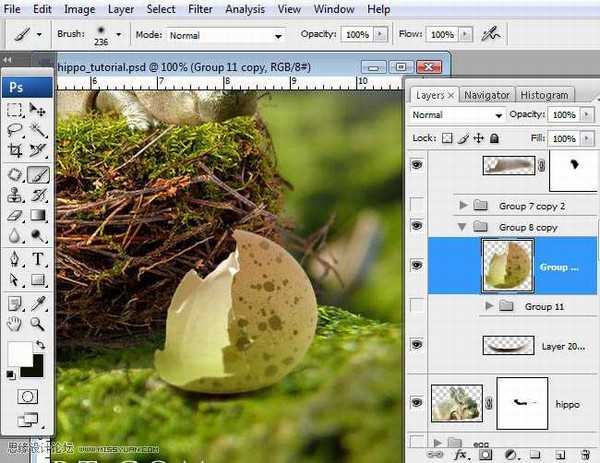
29、拖入蛋壳素材。
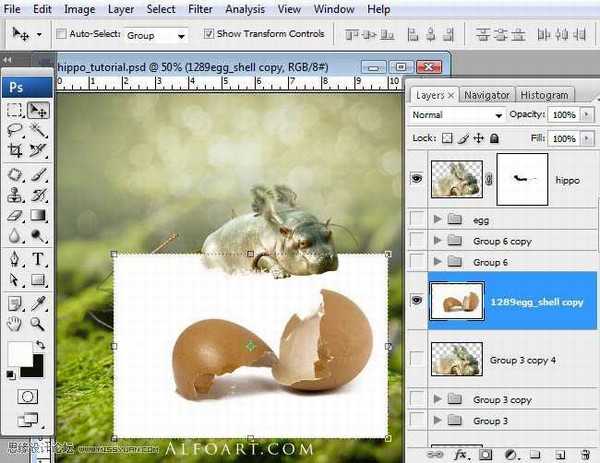
30、删除白色背景图层,勾选出蛋壳的阴影,并复制到新的图层,图层混合模式为正片叠底。
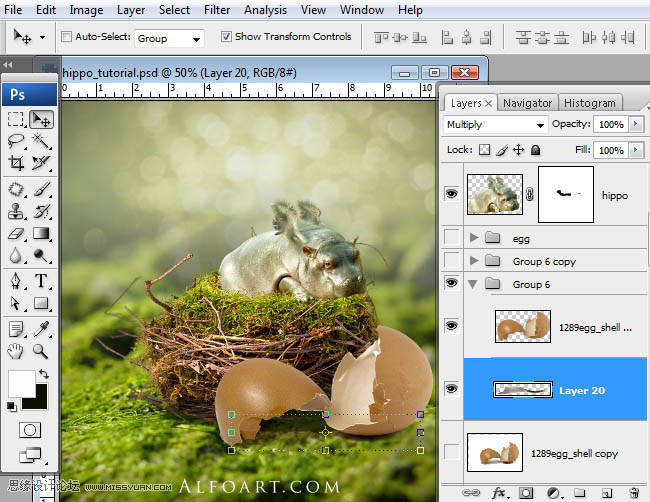
31、使用自由变换工具减小蛋壳的大小。
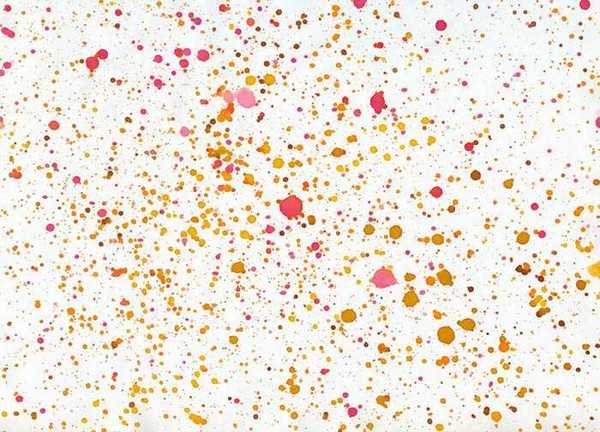
32、将左侧蛋壳单独剪切出来放在新的图层,移动到图示位置。

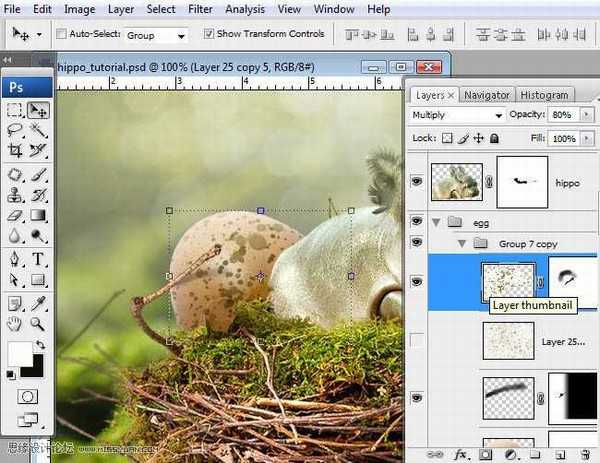
33、载入飞溅素材,使用自动对比度调整,执行:图像----调整----渐变映射,使用白色到棕色的渐变颜色。
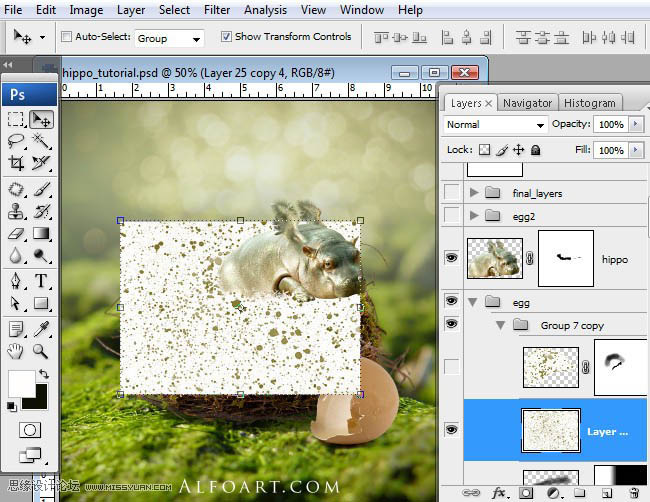
34、将飞溅素材应用在蛋壳外层,图层混合模式为正片叠底,不透明度80%,使用蒙版和笔刷擦去图示的选区范围内的飞溅点。
35、对于左侧蛋壳旁边的树枝载入选区,使用透明到黑色的渐变填充选区,应用高斯模糊和变形工具作出阴影的效果。

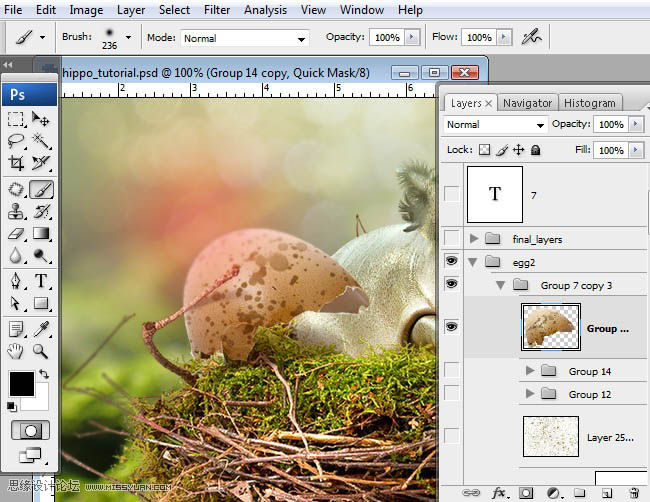
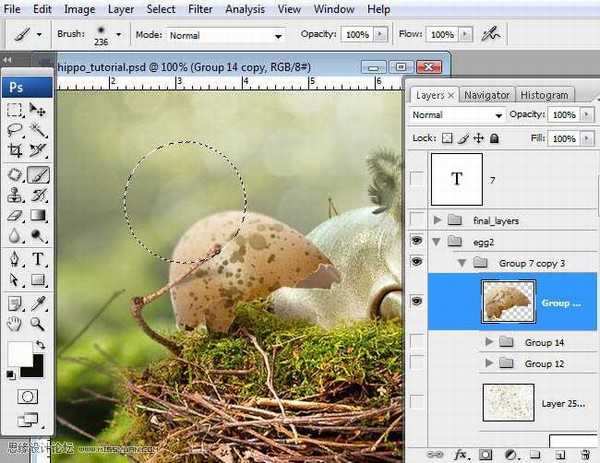
36、为左侧蛋壳增加飞溅素材,合并蛋壳图层和飞溅图层。
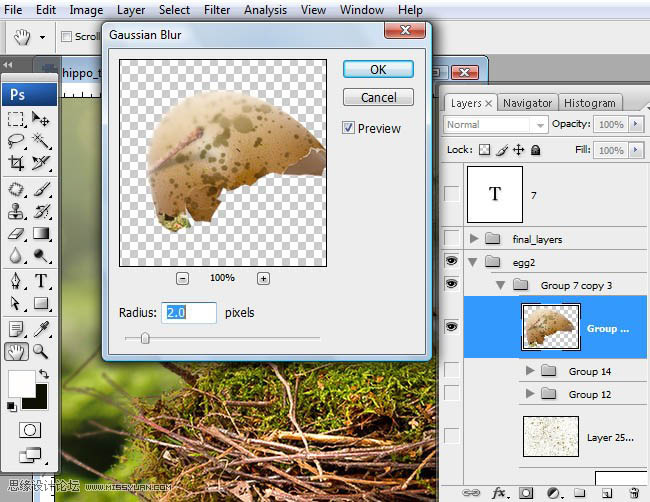
37、按Q键进入快速蒙版,使用柔角笔刷,半径较大,作出图示形状。
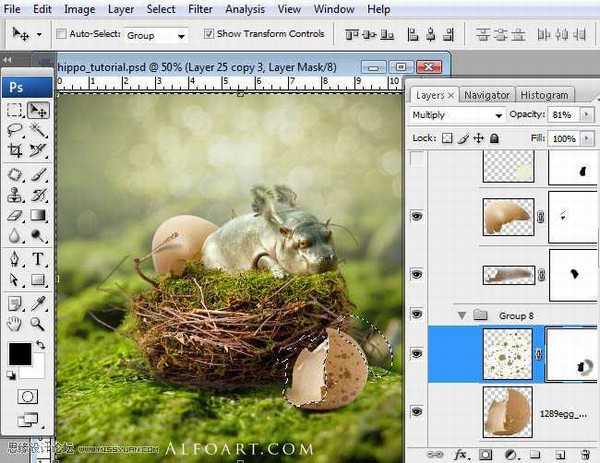
38、再次进入快速蒙版,反选,执行:滤镜---模糊---高斯模糊,半径2像素。
39、对下侧的蛋壳进行同样的处理,另外使用色彩平衡增加绿色反光,如图所示。
40、对图示位置添加高斯模糊。
41、对河马头部下面增加黑色阴影,图层混合模式为正片叠底,不透明度90%。
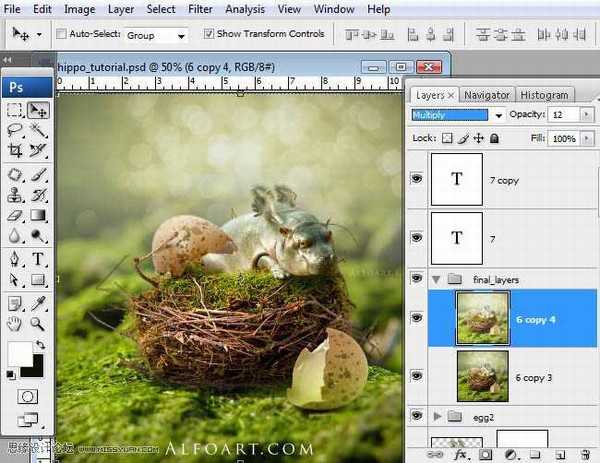
42、合并所有图层(此处建议盖印图层),复制合并后的图层,执行:图像-----调整----色调均化,执行:滤镜----杂色---增加杂色,数量4,平均分布。
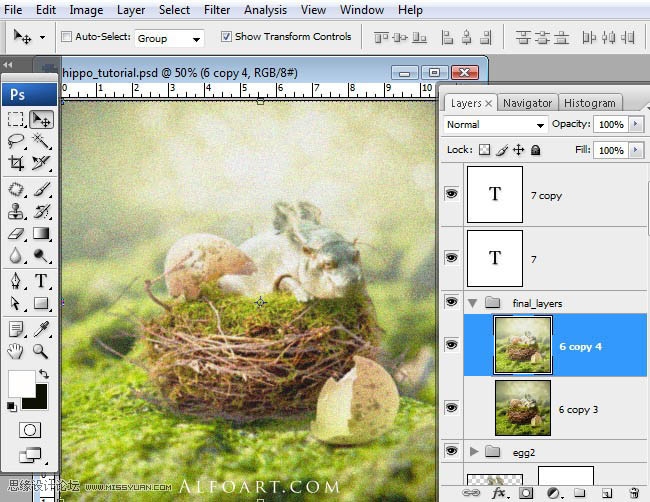
43、图层混合模式为正片叠底,不透明度12%。
最终效果:

1、新建图层,对新建图层应用线性渐变叠加样式。
2、设置渐变颜色,色彩为实色,从左到右分别为#cdd5b3,#d7dfc7,#dfe5c8。
3、添加背景虚化图层,图层混合模式为柔光。
4、拖入背景素材,添加蒙版,对蒙版添加线性渐变,如下图所示。
5、加入素材,放置在如图所示。
6、添加蒙版,使用黑白颜色的线性渐变。
7、在最上面创建一个白色的新图层,执行:滤镜---扭曲---镜头校正,数量:-30。
8、图层混合模式改为正片叠底。
9、插入鸟巢素材,将鸟巢复制到白色背景的新图层上,并移动。
10、再次插入原来的鸟窝素材,放在已编辑的鸟窝图层之下,使用色阶将暗部压暗。
11、选择---载入选区,移动鸟窝。
12、将2个鸟窝图层合并,选择鸟窝以外部分,执行:滤镜----模糊-----高斯模糊,2%,选择鸟巢的底部,如图所示,保持选区,在新的图层填充黑色,图层混合模式改为正片叠底,不透明度50--60%。
13、对鸟窝图层载入选区,保持选区,在新建的图层填充黑色。新的填充图层垂直翻转,如下图所示。
14、使用自由变换工具对图层变换,使用变换---缩放改变大小和方向,给这个图层添加渐变叠加的图层样式,颜色为透明---黑色。
15、将河马拖入新的图层。
16、将河马从背景中分离,添加蒙版,擦去多余部分。
17、校色,执行:图像---调整---可选颜色,红色:黄12,黑-20;绿色:黄42;白色:黄14,黑-79;中性色:青色-6,洋红6,黄6,黑04;黑色:黑色2;对图层执行颜色叠加的图层样式,设置如下。
18、复制河马图层,执行滤镜---其他---高反差保留,0.8像素,图层混合模式:叠加,不透明度70%。
19、合并河马的所有图层,设置合适的画笔大小,选择减淡工具,81像素,曝光度15,对河马的光亮部分减淡处理,如眼睛、耳朵,其他高亮部分。
20、复制河马图层,执行:图像---调整---黑白,将图片转换成灰色,执行:色阶,参数如图。
21、擦去图示部分。
22、图层混合模式为滤色,不透明度25。
23、使用钢笔勾出翅膀形状,转换成路径,做成翅膀的阴影。
24、对翅膀阴影区域载入选区,并移动到河马身体上,复制选区,并粘贴到新的图层,如图所示,从河马身上复制一个区域,粘贴到翅膀图层的上方。
25、为了创造阴影过度,使用减淡和加深工具对翅膀进行涂抹。
26、复制翅膀,用变形工具缩小,并放在图示的位置。
27、使用羽毛笔刷为图示位置增加羽毛。
28、合并所有的河马及翅膀图层,将河马转换成合适的大小拖入鸟窝中,执行:滤镜---锐化-----智能锐化,数量100,半径0.3,勾选更准确。
29、拖入蛋壳素材。
30、删除白色背景图层,勾选出蛋壳的阴影,并复制到新的图层,图层混合模式为正片叠底。
31、使用自由变换工具减小蛋壳的大小。
32、将左侧蛋壳单独剪切出来放在新的图层,移动到图示位置。
33、载入飞溅素材,使用自动对比度调整,执行:图像----调整----渐变映射,使用白色到棕色的渐变颜色。
34、将飞溅素材应用在蛋壳外层,图层混合模式为正片叠底,不透明度80%,使用蒙版和笔刷擦去图示的选区范围内的飞溅点。
35、对于左侧蛋壳旁边的树枝载入选区,使用透明到黑色的渐变填充选区,应用高斯模糊和变形工具作出阴影的效果。
36、为左侧蛋壳增加飞溅素材,合并蛋壳图层和飞溅图层。
37、按Q键进入快速蒙版,使用柔角笔刷,半径较大,作出图示形状。
38、再次进入快速蒙版,反选,执行:滤镜---模糊---高斯模糊,半径2像素。
39、对下侧的蛋壳进行同样的处理,另外使用色彩平衡增加绿色反光,如图所示。
40、对图示位置添加高斯模糊。
41、对河马头部下面增加黑色阴影,图层混合模式为正片叠底,不透明度90%。
42、合并所有图层(此处建议盖印图层),复制合并后的图层,执行:图像-----调整----色调均化,执行:滤镜----杂色---增加杂色,数量4,平均分布。
43、图层混合模式为正片叠底,不透明度12%。
最终效果:
标签:
鸟巢,翅膀,河马
杰网资源 Design By www.escxy.com
广告合作:本站广告合作请联系QQ:858582 申请时备注:广告合作(否则不回)
免责声明:本站文章均来自网站采集或用户投稿,网站不提供任何软件下载或自行开发的软件! 如有用户或公司发现本站内容信息存在侵权行为,请邮件告知! 858582#qq.com
免责声明:本站文章均来自网站采集或用户投稿,网站不提供任何软件下载或自行开发的软件! 如有用户或公司发现本站内容信息存在侵权行为,请邮件告知! 858582#qq.com
杰网资源 Design By www.escxy.com
暂无评论...