杰网资源 Design By www.escxy.com
教程只介绍了灭火器的制作过程,很多细节的制作没有详细说明,不过每一个构件都是图示参考,制作的时多参考图示,然后按一定顺序慢慢刻画。
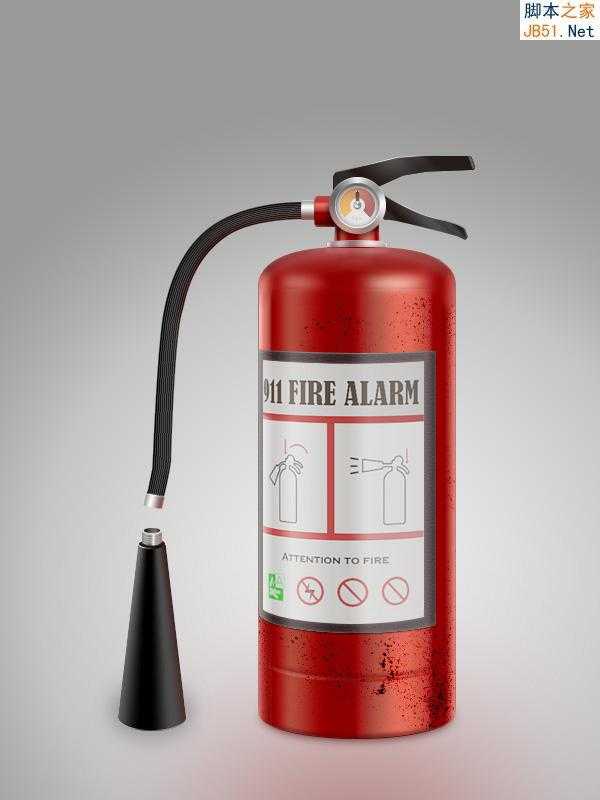
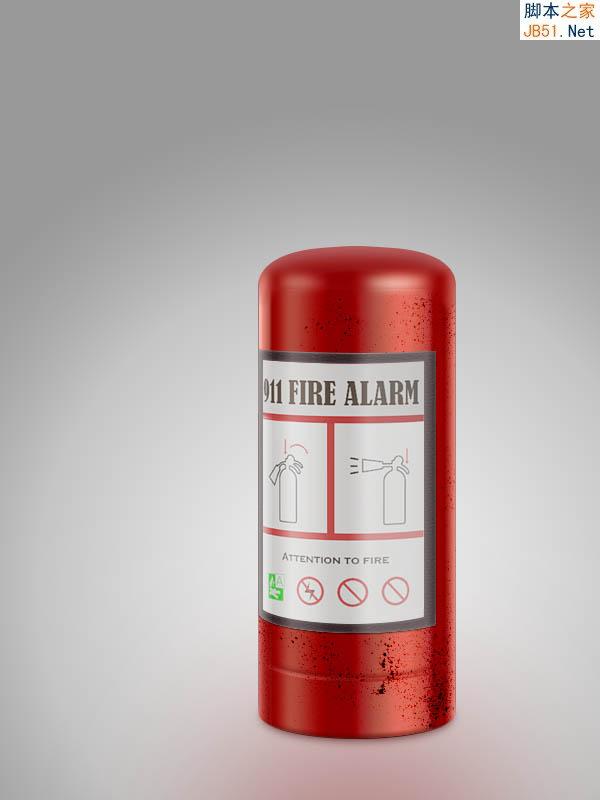
最终效果
1、当然是草稿了。

2、打开PS,新建大小适当的文档,首先建立个打光的背景。

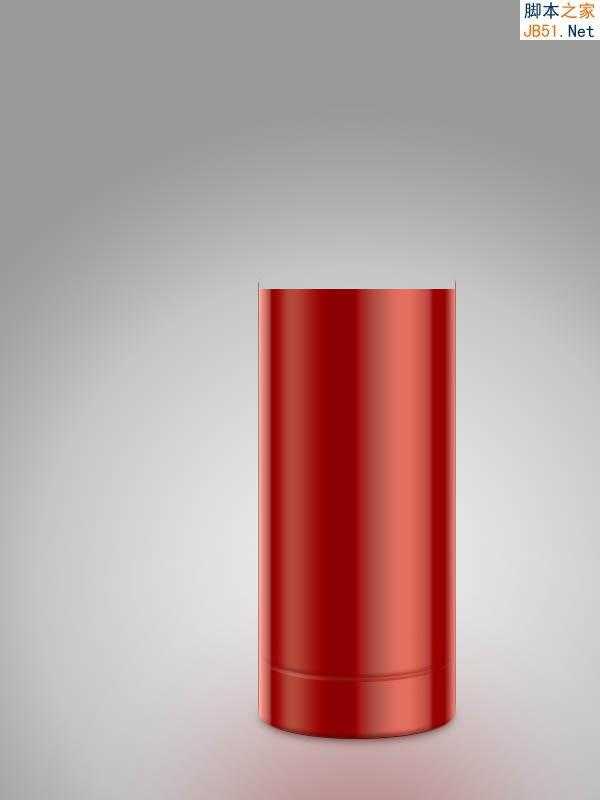
3、利用渐变工具等,做出瓶体,注意底部的细节要勾画得更自然些。

4、灭火器的瓶体有接缝,做出底部的凹进缝。在底部背景布上打出些红色的反光。
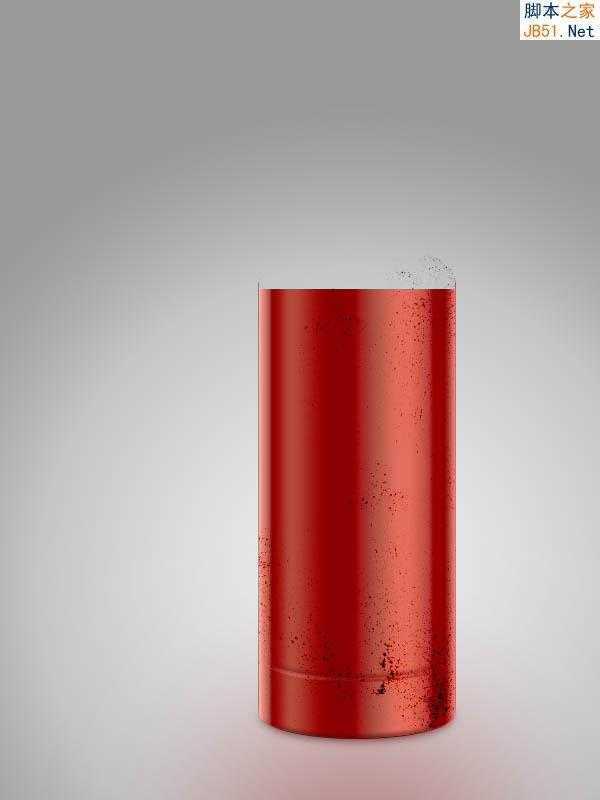
5、准备一些锈迹或斑点素材,和瓶体叠加方式调整下。

6、调整后更加真实一些。
7、将渲染图贴上,调整、光线方向统一、加边框并混合一些噪点接近纸质感。

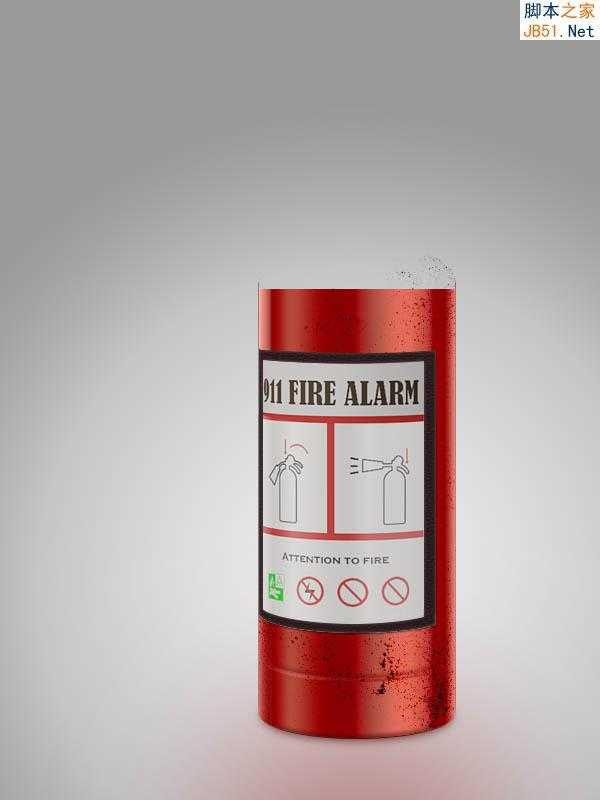
8、调整完善。

9、添加顶盖,并正好形成额接缝与视平线平行。高光和过渡要体现金属反光的整体性。
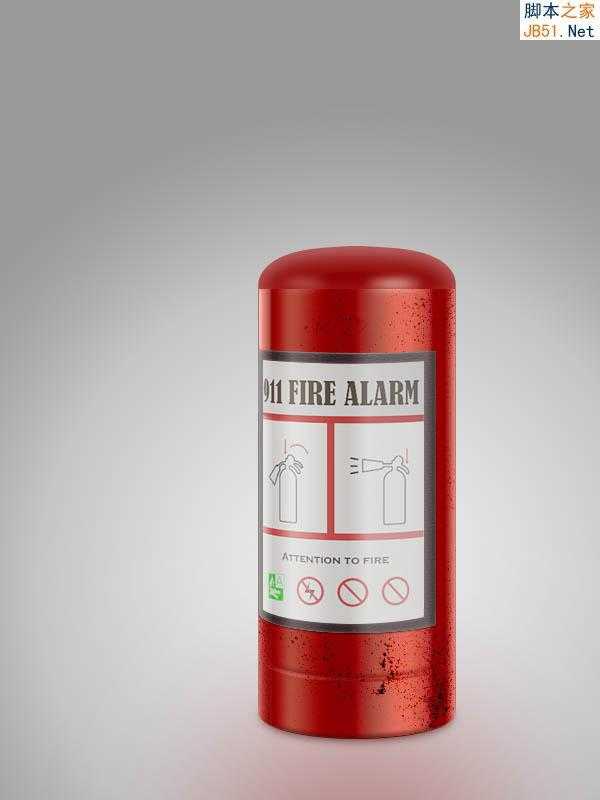
10、完善调整后的瓶体。
上一页12 下一页 阅读全文
最终效果
1、当然是草稿了。
2、打开PS,新建大小适当的文档,首先建立个打光的背景。
3、利用渐变工具等,做出瓶体,注意底部的细节要勾画得更自然些。
4、灭火器的瓶体有接缝,做出底部的凹进缝。在底部背景布上打出些红色的反光。
5、准备一些锈迹或斑点素材,和瓶体叠加方式调整下。
6、调整后更加真实一些。
7、将渲染图贴上,调整、光线方向统一、加边框并混合一些噪点接近纸质感。
8、调整完善。
9、添加顶盖,并正好形成额接缝与视平线平行。高光和过渡要体现金属反光的整体性。
10、完善调整后的瓶体。
上一页12 下一页 阅读全文
标签:
灭火器,鼠绘
杰网资源 Design By www.escxy.com
广告合作:本站广告合作请联系QQ:858582 申请时备注:广告合作(否则不回)
免责声明:本站文章均来自网站采集或用户投稿,网站不提供任何软件下载或自行开发的软件! 如有用户或公司发现本站内容信息存在侵权行为,请邮件告知! 858582#qq.com
免责声明:本站文章均来自网站采集或用户投稿,网站不提供任何软件下载或自行开发的软件! 如有用户或公司发现本站内容信息存在侵权行为,请邮件告知! 858582#qq.com
杰网资源 Design By www.escxy.com
暂无评论...


P70系列延期,华为新旗舰将在下月发布
3月20日消息,近期博主@数码闲聊站 透露,原定三月份发布的华为新旗舰P70系列延期发布,预计4月份上市。
而博主@定焦数码 爆料,华为的P70系列在定位上已经超过了Mate60,成为了重要的旗舰系列之一。它肩负着重返影像领域顶尖的使命。那么这次P70会带来哪些令人惊艳的创新呢?
根据目前爆料的消息来看,华为P70系列将推出三个版本,其中P70和P70 Pro采用了三角形的摄像头模组设计,而P70 Art则采用了与上一代P60 Art相似的不规则形状设计。这样的外观是否好看见仁见智,但辨识度绝对拉满。