杰网资源 Design By www.escxy.com
最终效果

1、新建文件,并建一新图层(背景通常我都保持其空白)画出天空与地面分隔处的远山。使用笔刷为wet media brushes(湿介质画笔)中的Watercolor Textured Surface(纹理表面水彩笔)笔刷。保持其默认设置,更改其透明度为40,流量80。呈水平方向直接绘制,得到如下图所示的效果。
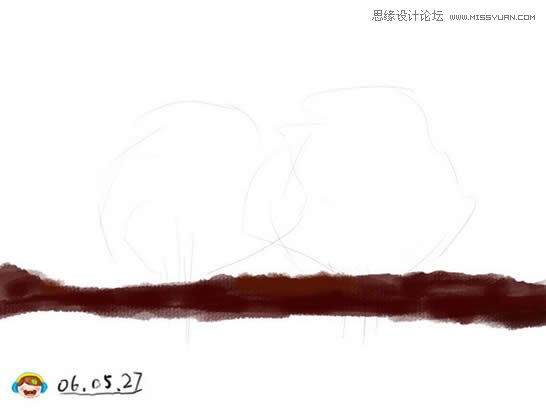
2、画出近处的地面,在刚才的图层下面再建立一新层,也是使用相同的笔刷。画的时候每笔可以拉的长一点,注意每笔间适当留点空隙。因为画笔设置了透明度,这样会呈现一些地方颜色深一些地方浅的层次感。
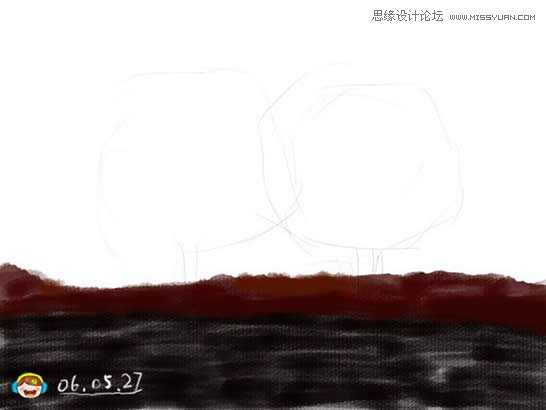
3、画旁边的小树,在所有层的上面建立新层,使用画笔为wet media brushes中的Dry Brush on Towel笔刷。保持其画笔默认设置,直接绘制。
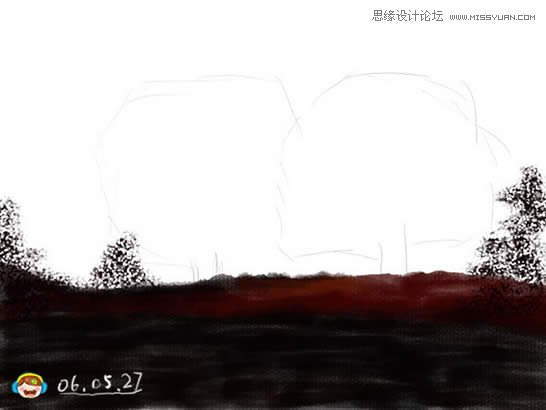
4、画出画面中的树,在顶部建立新层,使用圆头柔边画笔,画的时候随时更改其大小,使用钢笔压力。
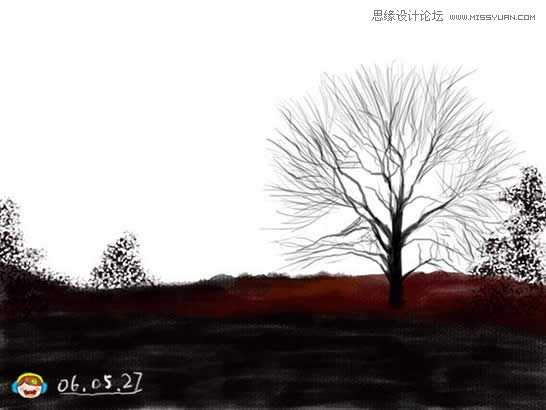
5、以同样的方法画出另一棵树。
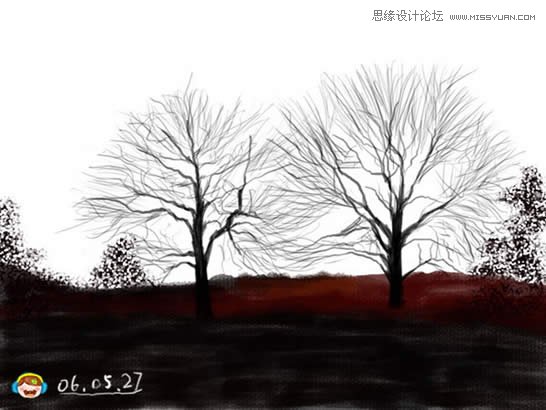
6、在顶层建立新层,使用前面画树叶的画笔,使用点画法(注意一下一下的点击,不是拖动),画出大树的叶子。
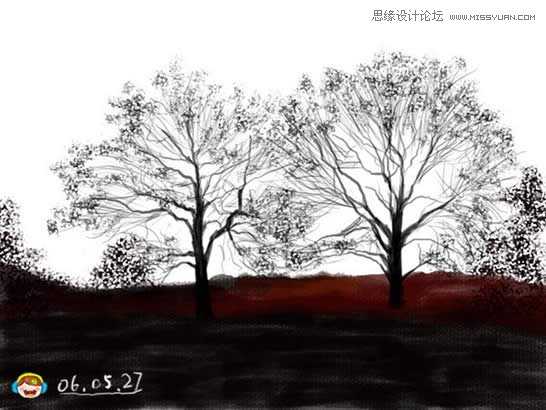
7、画天空,在地面层的上面建立新层,使用前面画地面的画笔,保持其默认设置。选择不同的颜色画出天空。
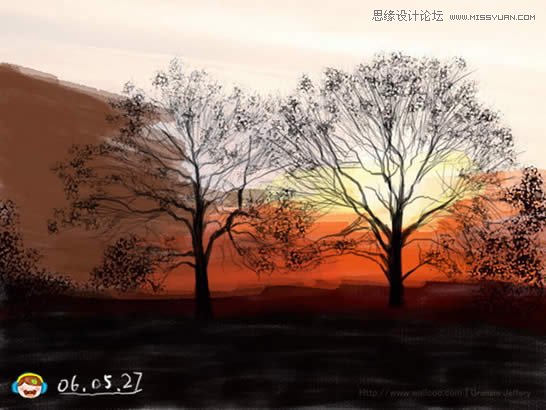
8、细化天空,注意色块间颜色的衔接。

9、进一步细化天空。
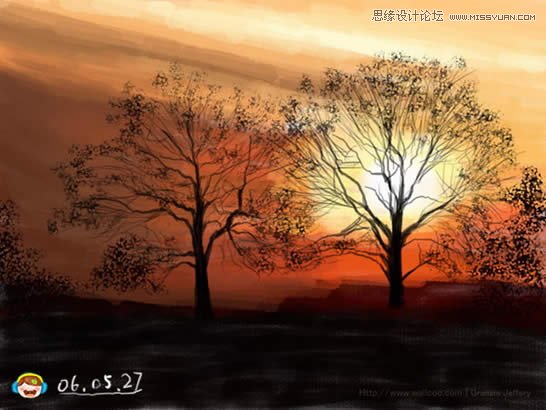
10、把树的层暂时隐藏,看到的天空和地面的效果。

11、将树杆层锁定透明,选择合适的颜色将太阳对着的树杆处颜色改变一下。
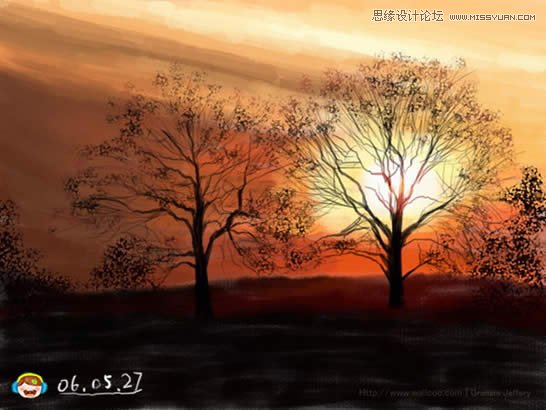
12、只显示树杆和背景的效果。

13、使用前面画树叶的画笔,在前面建立的树叶层上再画些树叶。画好后锁定该层的透明度,选择合适的颜色将边缘的树叶颜色改变一下。
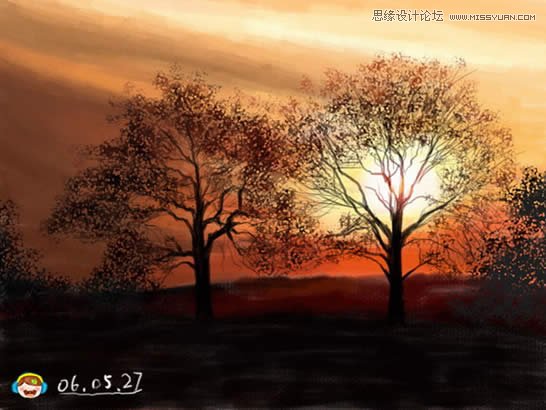
最后再次细化一下天空和树杆,使其更精细。完成最终效果。


1、新建文件,并建一新图层(背景通常我都保持其空白)画出天空与地面分隔处的远山。使用笔刷为wet media brushes(湿介质画笔)中的Watercolor Textured Surface(纹理表面水彩笔)笔刷。保持其默认设置,更改其透明度为40,流量80。呈水平方向直接绘制,得到如下图所示的效果。

2、画出近处的地面,在刚才的图层下面再建立一新层,也是使用相同的笔刷。画的时候每笔可以拉的长一点,注意每笔间适当留点空隙。因为画笔设置了透明度,这样会呈现一些地方颜色深一些地方浅的层次感。

3、画旁边的小树,在所有层的上面建立新层,使用画笔为wet media brushes中的Dry Brush on Towel笔刷。保持其画笔默认设置,直接绘制。

4、画出画面中的树,在顶部建立新层,使用圆头柔边画笔,画的时候随时更改其大小,使用钢笔压力。

5、以同样的方法画出另一棵树。

6、在顶层建立新层,使用前面画树叶的画笔,使用点画法(注意一下一下的点击,不是拖动),画出大树的叶子。

7、画天空,在地面层的上面建立新层,使用前面画地面的画笔,保持其默认设置。选择不同的颜色画出天空。

8、细化天空,注意色块间颜色的衔接。

9、进一步细化天空。

10、把树的层暂时隐藏,看到的天空和地面的效果。

11、将树杆层锁定透明,选择合适的颜色将太阳对着的树杆处颜色改变一下。

12、只显示树杆和背景的效果。

13、使用前面画树叶的画笔,在前面建立的树叶层上再画些树叶。画好后锁定该层的透明度,选择合适的颜色将边缘的树叶颜色改变一下。

最后再次细化一下天空和树杆,使其更精细。完成最终效果。

标签:
晨曦,树林,插画
杰网资源 Design By www.escxy.com
广告合作:本站广告合作请联系QQ:858582 申请时备注:广告合作(否则不回)
免责声明:本站文章均来自网站采集或用户投稿,网站不提供任何软件下载或自行开发的软件! 如有用户或公司发现本站内容信息存在侵权行为,请邮件告知! 858582#qq.com
免责声明:本站文章均来自网站采集或用户投稿,网站不提供任何软件下载或自行开发的软件! 如有用户或公司发现本站内容信息存在侵权行为,请邮件告知! 858582#qq.com
杰网资源 Design By www.escxy.com
暂无评论...
《魔兽世界》大逃杀!60人新游玩模式《强袭风暴》3月21日上线
暴雪近日发布了《魔兽世界》10.2.6 更新内容,新游玩模式《强袭风暴》即将于3月21 日在亚服上线,届时玩家将前往阿拉希高地展开一场 60 人大逃杀对战。
艾泽拉斯的冒险者已经征服了艾泽拉斯的大地及遥远的彼岸。他们在对抗世界上最致命的敌人时展现出过人的手腕,并且成功阻止终结宇宙等级的威胁。当他们在为即将于《魔兽世界》资料片《地心之战》中来袭的萨拉塔斯势力做战斗准备时,他们还需要在熟悉的阿拉希高地面对一个全新的敌人──那就是彼此。在《巨龙崛起》10.2.6 更新的《强袭风暴》中,玩家将会进入一个全新的海盗主题大逃杀式限时活动,其中包含极高的风险和史诗级的奖励。
《强袭风暴》不是普通的战场,作为一个独立于主游戏之外的活动,玩家可以用大逃杀的风格来体验《魔兽世界》,不分职业、不分装备(除了你在赛局中捡到的),光是技巧和战略的强弱之分就能决定出谁才是能坚持到最后的赢家。本次活动将会开放单人和双人模式,玩家在加入海盗主题的预赛大厅区域前,可以从强袭风暴角色画面新增好友。游玩游戏将可以累计名望轨迹,《巨龙崛起》和《魔兽世界:巫妖王之怒 经典版》的玩家都可以获得奖励。


