杰网资源 Design By www.escxy.com
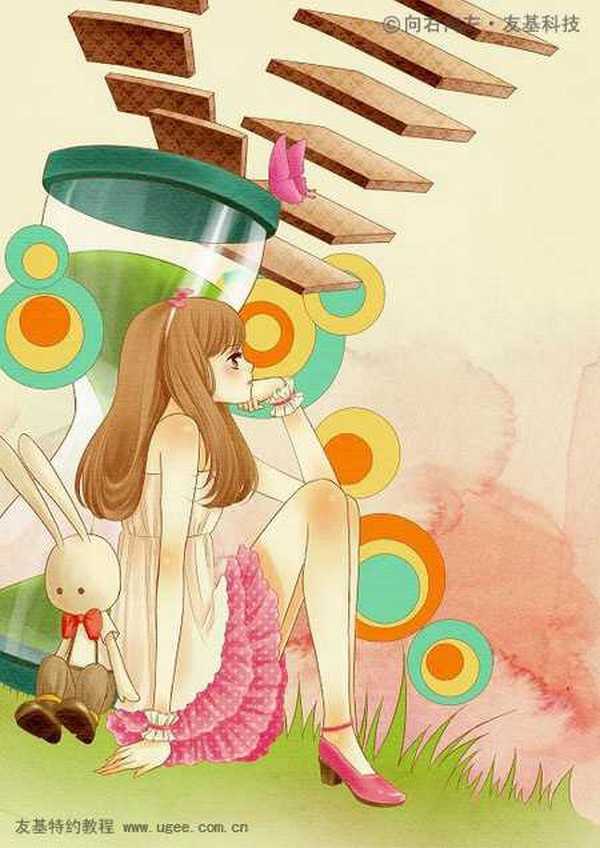
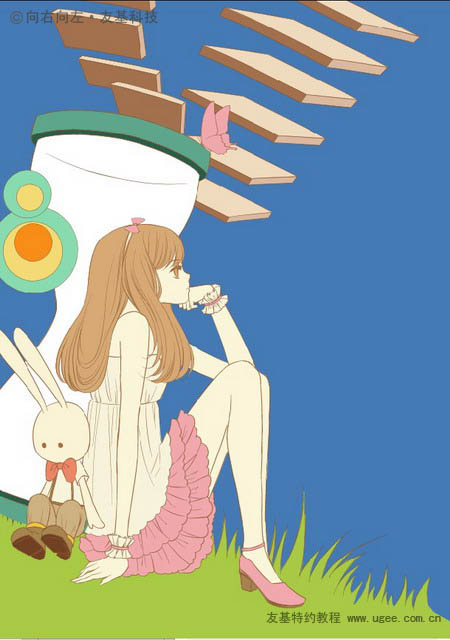
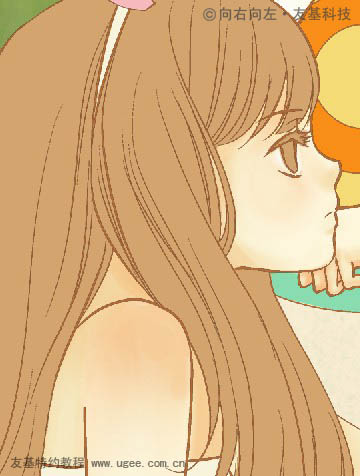
最终效果
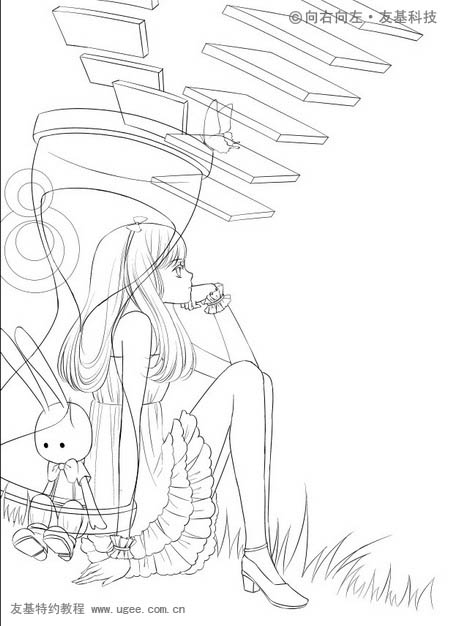
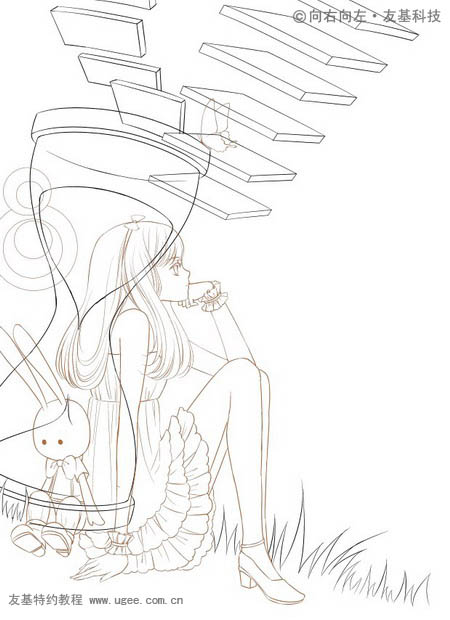
1、起草和勾线我还是习惯在ComicStudio中完成,具体勾线步骤请参考友基教程里的勾线教程,这里就不过多讲述了。为了方便后期上色,勾线时要注意分层,把沙漏玻璃遮挡住的地方也要画完整。
线稿画完后,执行“文件”—“导出”—“指定尺寸”(或者指定像素),导出300dpi的PSD格式的文件。
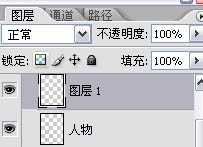
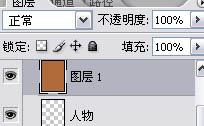
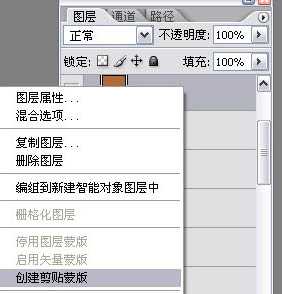
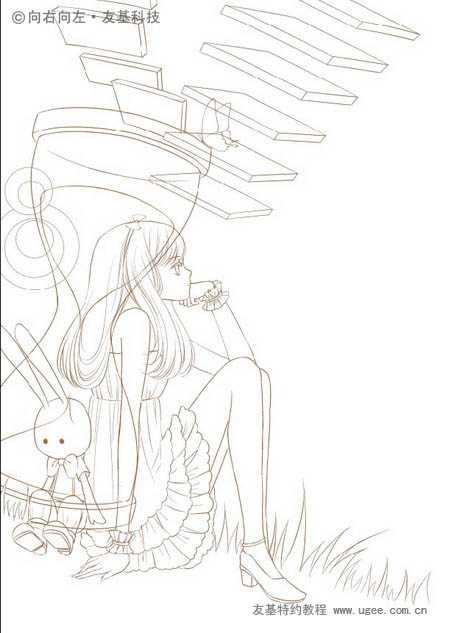
2、黑色的线稿画出彩图来有时会显得略微生硬,于是把线稿的颜色改一下。在线稿图层的上方新建图层,填充棕色,右击图层,创建剪切蒙版。这样,人物的线稿颜色就成了棕色的了。
3、用同样的方法把背景的颜色也改成棕色的。
4、为了后面上色方便,我的习惯是上色前先填色块。
使用多边形套索工具填色块,为了能看清边缘,可以将背景颜色弄得差异大一点。填色时前景、中景、远景的颜色都要分开,最好分一下图层文件夹。
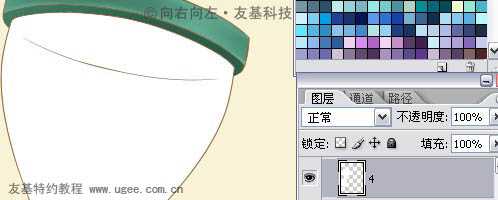
5、这张图我只用了Photoshop上色。用到的笔刷也只有下图圈起来的这两个笔刷。
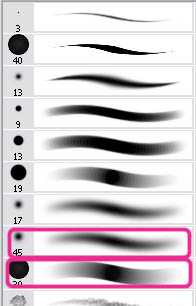
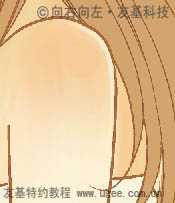
6、首先,用柔边笔刷画出大致明暗关系,然后用透明边笔刷画重点阴影的部位。这张图上色时要刻意画得稍微平一点。
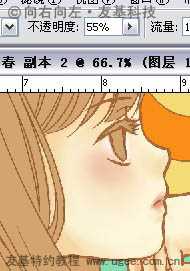
7、然后画出高光,再在肩膀、膝盖、胳膊肘等位置点一个原点,增加亮度。由于整体色调比较偏灰,这里高光的用色不选择白色。
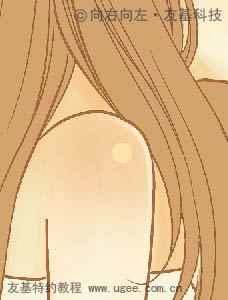
8、最后,降低笔刷的不透明度,画上腮红和嘴唇。
9、直接用笔刷画出头发的明暗关系,这里不强调过于精致的发丝。
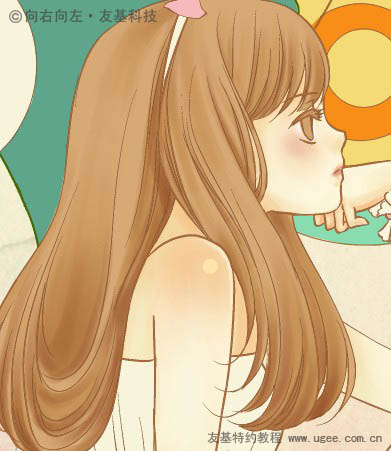
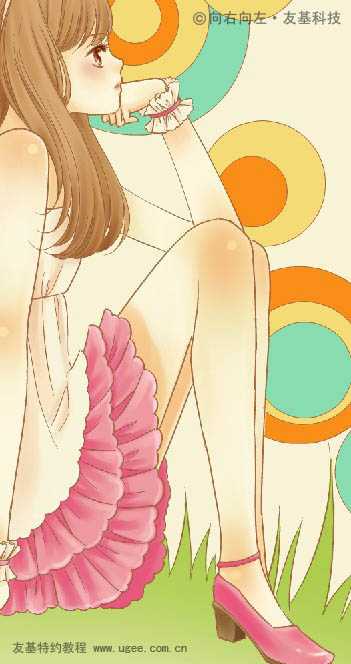
10、把其余的地方也画出来,注意色彩的和谐,不加环境色。
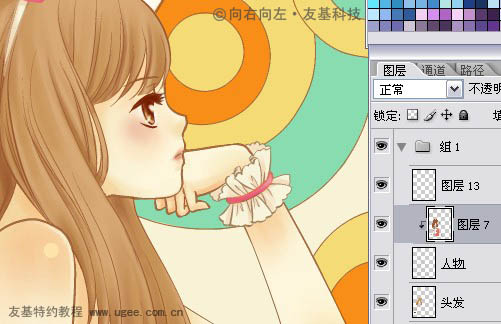
11、最后,在线稿上方建一图层,创建剪切蒙版来改变部分线稿的颜色,让画面更加协调。
12、把人物和背景部分的图层文件夹隐藏,不让它们显示出来。
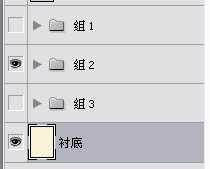
13、给沙漏和草地上色(此时将玻璃部分的白色先隐藏起来)。
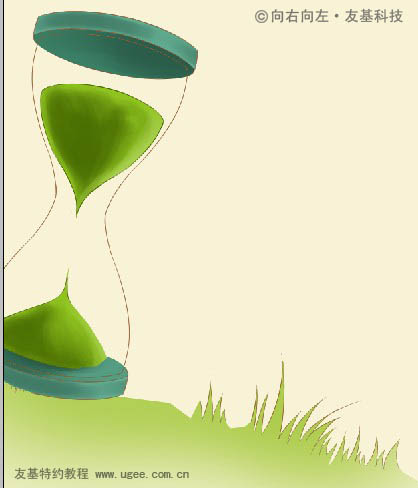
14、然后打开玻璃部分的白色色块,白色色块会将沙漏里面的东西盖上。
上一页12 下一页 阅读全文
1、起草和勾线我还是习惯在ComicStudio中完成,具体勾线步骤请参考友基教程里的勾线教程,这里就不过多讲述了。为了方便后期上色,勾线时要注意分层,把沙漏玻璃遮挡住的地方也要画完整。
线稿画完后,执行“文件”—“导出”—“指定尺寸”(或者指定像素),导出300dpi的PSD格式的文件。
2、黑色的线稿画出彩图来有时会显得略微生硬,于是把线稿的颜色改一下。在线稿图层的上方新建图层,填充棕色,右击图层,创建剪切蒙版。这样,人物的线稿颜色就成了棕色的了。
3、用同样的方法把背景的颜色也改成棕色的。
4、为了后面上色方便,我的习惯是上色前先填色块。
使用多边形套索工具填色块,为了能看清边缘,可以将背景颜色弄得差异大一点。填色时前景、中景、远景的颜色都要分开,最好分一下图层文件夹。
5、这张图我只用了Photoshop上色。用到的笔刷也只有下图圈起来的这两个笔刷。
6、首先,用柔边笔刷画出大致明暗关系,然后用透明边笔刷画重点阴影的部位。这张图上色时要刻意画得稍微平一点。
7、然后画出高光,再在肩膀、膝盖、胳膊肘等位置点一个原点,增加亮度。由于整体色调比较偏灰,这里高光的用色不选择白色。
8、最后,降低笔刷的不透明度,画上腮红和嘴唇。
9、直接用笔刷画出头发的明暗关系,这里不强调过于精致的发丝。
10、把其余的地方也画出来,注意色彩的和谐,不加环境色。
11、最后,在线稿上方建一图层,创建剪切蒙版来改变部分线稿的颜色,让画面更加协调。
12、把人物和背景部分的图层文件夹隐藏,不让它们显示出来。
13、给沙漏和草地上色(此时将玻璃部分的白色先隐藏起来)。
14、然后打开玻璃部分的白色色块,白色色块会将沙漏里面的东西盖上。
上一页12 下一页 阅读全文
标签:
粉色,人物插画
杰网资源 Design By www.escxy.com
广告合作:本站广告合作请联系QQ:858582 申请时备注:广告合作(否则不回)
免责声明:本站文章均来自网站采集或用户投稿,网站不提供任何软件下载或自行开发的软件! 如有用户或公司发现本站内容信息存在侵权行为,请邮件告知! 858582#qq.com
免责声明:本站文章均来自网站采集或用户投稿,网站不提供任何软件下载或自行开发的软件! 如有用户或公司发现本站内容信息存在侵权行为,请邮件告知! 858582#qq.com
杰网资源 Design By www.escxy.com
暂无评论...