杰网资源 Design By www.escxy.com
本教程主要使用Photoshop制作超酷的树木组成的艺术字教程,教程主要使用素材和图层样式来完成,喜欢的朋友让我们一起来学习吧。
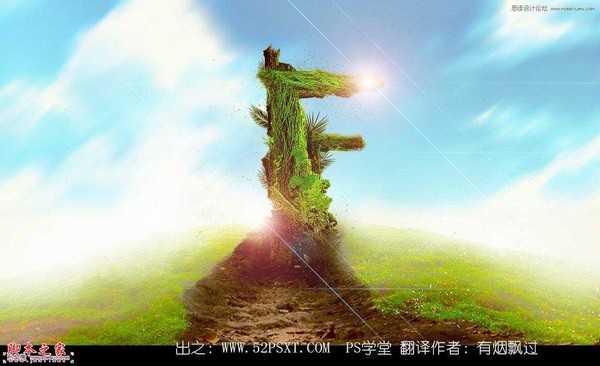
先看看效果图
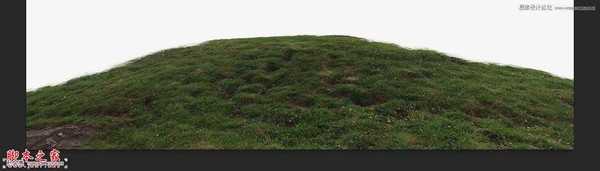
1.新建1180*680px大小的文档,我们打开山坡的图片,用快速选择工具选择山坡的上半部分,如下:

2.复制选区内的山坡,拉入我们新建的文档中,调整大小使它的宽度与画布的宽度对齐。
3.用柔软的橡皮擦擦拭边缘部分,有点像雾的感觉,效果如下:

4.添加调整图层--色相/饱和度,色相-1,饱和度+76:
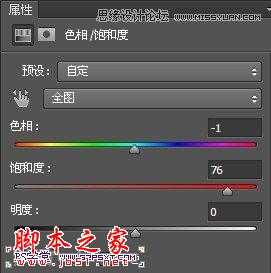
会得到效果大致如下:

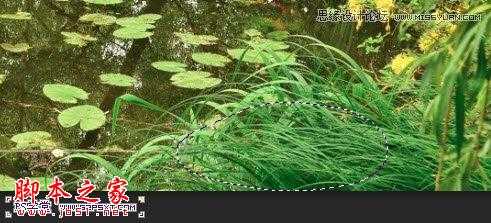
5.我们下面来做草地上的泥路,打开素材2,选择下面的部分
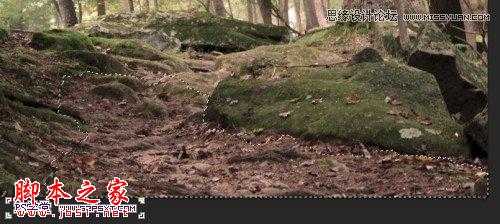
6.同样复制拉入画布中,ctrl+T变换,右击扭曲,使它和草地部分融合在一起

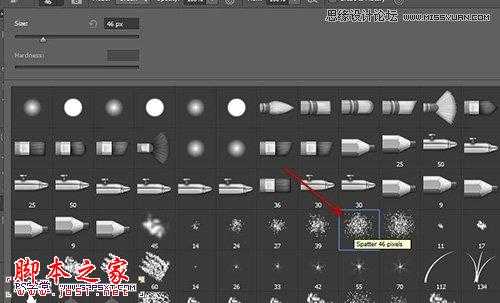
7.我们选择橡皮擦工具,选择如下,轻柔的擦拭泥路的边缘部分:

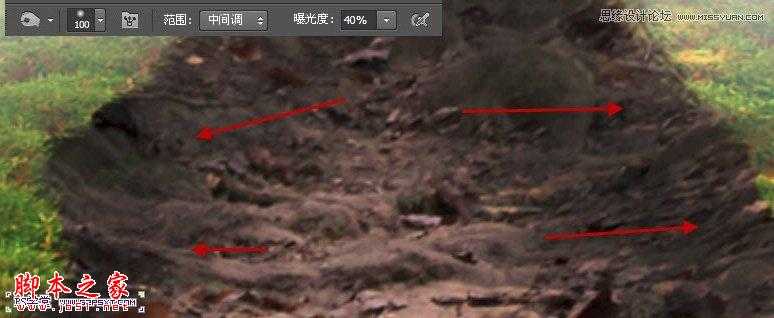
8.使用加深工具,大小100px,强度40%,擦拭泥路的两边内侧部分,加深泥路的深度和层次感
9.拉入天空素材到画布中,执行模糊--动感模糊,角度45度,距离31px

10.用柔光的橡皮擦擦拭天空的下半部分,做出效果大致如下:

本帖隐藏的内容11.打开素材3,抠出如下部分,来做字体的枝干部分。

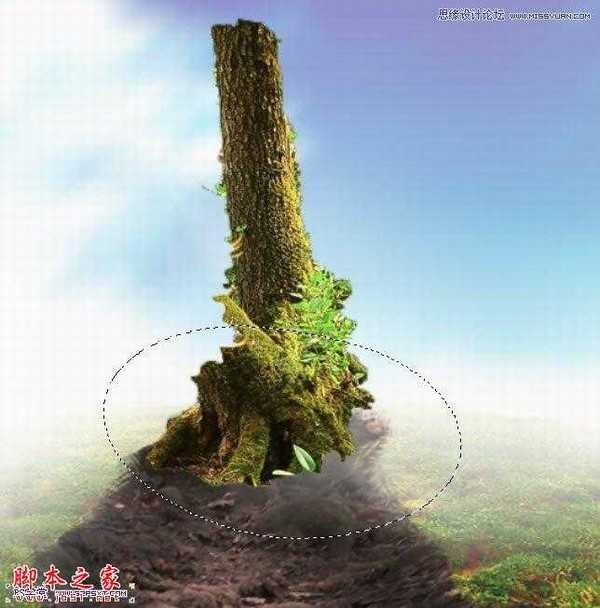
12.将抠好的树干拉入画布中,摆放好位置,我们用椭圆选区工具,在树干底部拉一个椭圆,羽化40px左右。
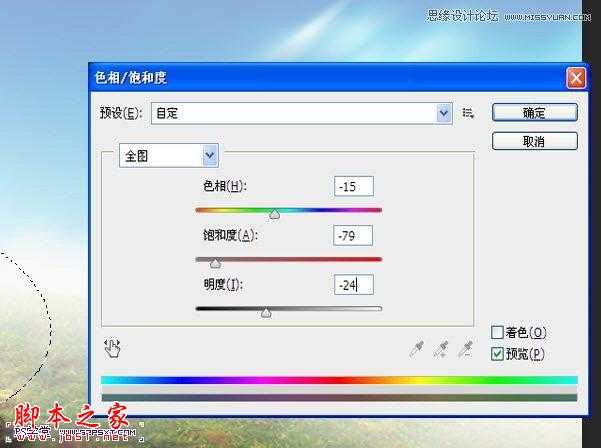
13.进行调整--色相/饱和度,色相-15,饱和度-79,明度-24
14.在树干图层下新建图层,用黑色柔软画笔在树干底部画一点阴影效果

15.我们再次打开素材3,同样的抠出一些树枝部分,拉入画布中摆出效果,大致如下:
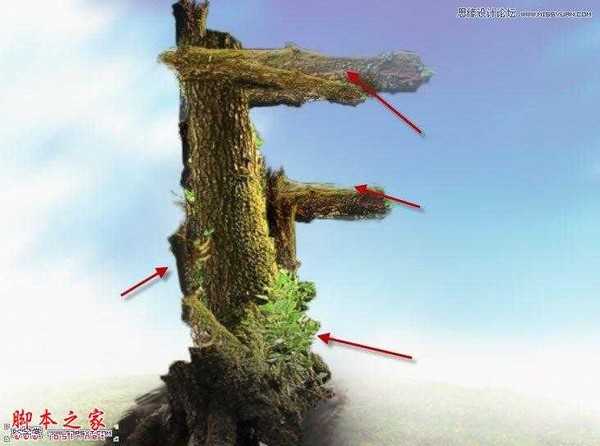
16.打开树叶素材,拉入画布中摆放好位置,多复制几次,摆出效果大致如下:

17.打开素材4,抠出如下部分
18.拉入画布中,摆放好位置,改模式为“强光”,多复制几次摆放处如下效果:

19.到这我们的字体差不多已经完成了。我们可以用画笔,在字体周边涂抹一点绿色的点点,做出动感的效果

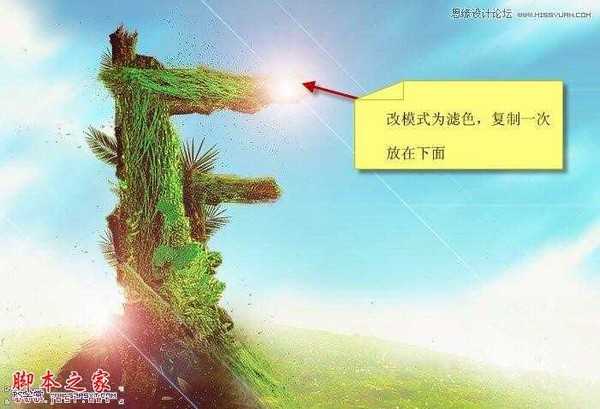
20.最后我们拉入高光素材,模式滤色,放在字体上方。复制一次摆放在下面,我们的字体也就完成了

先看看效果图
1.新建1180*680px大小的文档,我们打开山坡的图片,用快速选择工具选择山坡的上半部分,如下:
2.复制选区内的山坡,拉入我们新建的文档中,调整大小使它的宽度与画布的宽度对齐。
3.用柔软的橡皮擦擦拭边缘部分,有点像雾的感觉,效果如下:
4.添加调整图层--色相/饱和度,色相-1,饱和度+76:
会得到效果大致如下:
5.我们下面来做草地上的泥路,打开素材2,选择下面的部分
6.同样复制拉入画布中,ctrl+T变换,右击扭曲,使它和草地部分融合在一起
7.我们选择橡皮擦工具,选择如下,轻柔的擦拭泥路的边缘部分:
8.使用加深工具,大小100px,强度40%,擦拭泥路的两边内侧部分,加深泥路的深度和层次感
9.拉入天空素材到画布中,执行模糊--动感模糊,角度45度,距离31px
10.用柔光的橡皮擦擦拭天空的下半部分,做出效果大致如下:
本帖隐藏的内容11.打开素材3,抠出如下部分,来做字体的枝干部分。
12.将抠好的树干拉入画布中,摆放好位置,我们用椭圆选区工具,在树干底部拉一个椭圆,羽化40px左右。
13.进行调整--色相/饱和度,色相-15,饱和度-79,明度-24
14.在树干图层下新建图层,用黑色柔软画笔在树干底部画一点阴影效果
15.我们再次打开素材3,同样的抠出一些树枝部分,拉入画布中摆出效果,大致如下:
16.打开树叶素材,拉入画布中摆放好位置,多复制几次,摆出效果大致如下:
17.打开素材4,抠出如下部分
18.拉入画布中,摆放好位置,改模式为“强光”,多复制几次摆放处如下效果:
19.到这我们的字体差不多已经完成了。我们可以用画笔,在字体周边涂抹一点绿色的点点,做出动感的效果
20.最后我们拉入高光素材,模式滤色,放在字体上方。复制一次摆放在下面,我们的字体也就完成了
标签:
树木,立体字
杰网资源 Design By www.escxy.com
广告合作:本站广告合作请联系QQ:858582 申请时备注:广告合作(否则不回)
免责声明:本站文章均来自网站采集或用户投稿,网站不提供任何软件下载或自行开发的软件! 如有用户或公司发现本站内容信息存在侵权行为,请邮件告知! 858582#qq.com
免责声明:本站文章均来自网站采集或用户投稿,网站不提供任何软件下载或自行开发的软件! 如有用户或公司发现本站内容信息存在侵权行为,请邮件告知! 858582#qq.com
杰网资源 Design By www.escxy.com
暂无评论...